Koufax Memories - Strange Water

Sure he drank from his bowl, but never when there was another option. Once we moved to Seattle he drank from rain puddles >80% of the time. It got to the point I would start leaving plates and bowls scattered about the backyard just to watch him move between them all and really whet that whistle. He treated Strange Water like tapas - taste a little bit from all the options.

Drinking from the spigot in Big Sur. Like a fancy boy.

Mt. Rushmore of Teas

Today I took a Tea 101 class where I learned about, and sampled, different variants of teas. All were unique and superb. Each well representing their style: white, green, oolong, black, pu erh, herbal. Very fun experience; not unlike wine tasting. The same grape from the same vintage by the same winemaker from the same vineyard, but different blocks, will taste different.

All tea comes from the same plant! But different regions, and harvesting and rolling techniques, and amount of oxidation and fermentation, and brewing temperature and time, will vastly alter the beverage.

With that said, my Mt. Rushmore of types of teas are as follow: white, oolong, black, pu erh. I will drink and enjoy any good tea - I am a tea drinker; I drink tea. But these are my top 4 in no particular order.

Optical Illusion Cutting Board

I work from home. My day job desk is in my Shop. Which makes for a wonderful place to be while in a conference call. Last week I thought it would be kind of slick to make a cutting board while attending meetings where I wasn’t an active participate. Just needed to mute when I was running the saws. I thought it would slicker if a flat cutting board appeared to be 3 dimensional.

Here are the steps:

1) Rip 2” wide 16.5” long each strips of Walnut, Cherry, and Ash.
2) Plane to even thickness, .75”. 3) Set miter saw to 30 degrees. Used a 2” wide piece of strap and made a cut 2” down. Then measured the length of that cut (~2.25). Set up a stop block at that distance. The saw is now set up to make a diamond with four sides of equal length.
4) Make 16 diamonds of each type of wood.
5) Glue hexagons with one each of type. Be mindful of the wood grain and make sure they are the same between all hexagons. Use rubber bands to clamp.
6) Glue the hexagons into clusters of 3 or 4. Be sure each hexagon is oriented the same. I made sure the dark Walnut was on top.
7) Glue all the clusters together.
8) Cut off overhangs on the table saw to square up all sides. 9) Fill the gaps with glue and saw dust. 10) Run the board through the thickness planer to level off the seams.
11) Hand sand with 120 grit. 12) Three coats of mineral oil and beeswax.

I am quite pleased with the result and Sara liked it so much she forbade me from giving it away, the ultimate compliment.

Lefty

In early 2016 the Humane Society hosted an event at our work featuring about shelter dogs with the hopes they would get adopted. After a long day in the factory I thought nothing would be better than playing with some dogs before the long commute home. I texted Sara and told her why I would be late.

90 minutes later she had put a hold fee on a dog through the San Francisco SPCA. Sara found her through their webpage. A young bitch that had her front right leg amputated a couple of days prior.

We drove up to the City the next morning - we needed to meet her and she needed to meet Koufax. She warmed up to us immediately. It naturally helped that we had handfuls of treats and kept passing them though an opening in the glass wall that separated us. We would later refer to this opening as a “glory hole” because from Lefty’s point of view that hole was the most glorious thing in the universe.

She did not give Koufax the same first impression. As a matter of fact, she bit his face. I told you she was a young bitch.

We obviously took her home. I was apprehensive but Sara loved her and I trust Sara.
At first it was a colossal mistake. She was not house trained. Certainly not leash trained. And, drank water until she threw up and then would drink more stopping only to pee seconds later. If you didn’t keep an eye on her she would drink out of oil puddles. On and on.

But then …

She hopped her way into my heart.


59951611688__27F24F96-90F0-4A1A-84D8-D4C5E7C1A901.fullsizerender.jpeg
IMG_5008.jpeg
IMG_3319.jpeg
FullSizeRender.jpeg

Granny Square Blanket

3 months of quarantine gave me ample opportunity to work on projects and play around with my hobbies. Including taking up new ones. Like Crocheting.

When it was too wet or cold to safely work on outdoor cabin projects I thought it would be nice to sit inside by the fire and spin some yarn. Given the pandemic supplies were limited so I ended up with a variety pack of brightly colored yarn. A few YouTube tutorials later and I was off.

The culmination of my efforts yielded a Granny Square Blanket for my niece Parker. 120 individual squares. It is refreshing to be reminded the value of practice and repetition. The first 8-10 squares took me about 30 minutes each to complete. When I got into the 100s I was knocking them out in under ten - while sipping on a glass of wine.

It was a fun project. I am proud of the result and, most importantly, I think Parker likes it.

Sitting Around the Campfire

This will not be the last time I mention this: I am an Eagle Scout. This will also not be the last time I write about campfires. I offer my credentials as bonafides that I have sat around hundreds of campfires.

Amongst the world’s greatest known enemies - climate change, poverty, racism - is sitting downwind of a campfire. Nobody ordered a cayenne pepper s’mores. Look at this photo. 30 seconds before it was taken Goldberg was on top of the world. Then the smoke rolled in, searing his irises. True story: his eye color darkened. When we noticed it the next morning we told him - horrified, he immediately called his optometrist to get an appointment. It was the Sunday of Memorial Day weekend.

3658148485_88a80b53f7_o.jpeg


I now offer you my greatest life hack. Look up the wind forecast before picking your seat around the campfire.

Let that sink in.

Before picking up the axe. Before betting your friends it will only take 1 match to light the fire. Before ripping into the Graham Crackers*. Before any of that, type into Google “local wind forecast”. Or visit a webpage like WillyWeather. All sailors, pilots, campfire enthusiasts have it bookmarked. Or just talk to the Ranger. Figure out where it is coming from.

*you have to carefully plan when you open those packs. Once the wrapper is open you have less than 48 seconds before they go stale. A open pack of Graham’s is the only substance on the planet that has a shorter Peak-to-“Is thing 1000 years old?” time than an Avocado.

And then sit with it to your back. Or, ideally, 45 degrees off vector. That is to say, if the wind will be coming out of the North than you want to sit at the NE or NW side of the fire. All night long the smoke will be across from you. Leaving you free all night to drink and laugh and tell tales all with clear eyes. And a full heart.

There is the added bonus that the smoke will chase away any friends from sitting directly across from you where dialogue would be difficult due to the fires affect on sound waves.

See you upwind …

IMG_3575.jpeg
2535440376_b7da259817_o.jpeg
2535445370_43cc5a2dba_o.jpeg
IMG_0979.jpeg
IMG_1553.jpeg

Finishing Paddle #5

Once I was pleased with the shape and feel of the paddle it was time to move to the final stage - sanding and applying a finishing/sealing coat.

The sanding is straightforward. All of the shaping was done my hand so this step is really just to make the shaft and grip smooth and comfortable to hold. I used a random orbital sander across the entire surface moving up in the grits: 60, 80, 120. Then I wet the surface with water to raise the grain. It also revealed the color and texture of what it will ultimately look like. And let me just say - Oh. La. La.

Adjustments.jpeg

I then took a sheet of 180 grit, wrapped it around paddle shaft, and, well, stroked it until smooth. I repeated with 220 grit.
At this point the paddle was nothing short of silky.
To seal and protect the wood I like to use a marine varnish. However, it does take away a little bit of the wood feel. There should be a warmth in the palms when holding a canoe paddle. Therefore the grip gets taped off while the blade and shaft get varnished. Then I removed the tape and applied three coats of Linseed oil.

I executed all of this while in conference calls. Hell of a way to spend a day. Making canoe paddles in the sun on the deck while still getting paid. There was a point I forgot to mute and a colleague chimed in with “is someone sharpening a knife right now?”. No Mike, I am not sharpening a knife. I am using a knife. I sharpened it before this meeting. And I will again after this meeting. Besides. It is a far less distracting than the dozens of kids wailing away in everyone else’s background, Mike.
I doubt this will be the last quarantine paddle I make.

Adjustments.jpeg

Canoe paddle #5 made from a single Incense Cedar board

While shopping for lumber for a dining room table I stumbled upon a board of incense cedar. And the rain stopped, and the clouds parted, and a chorus of angels sang. I had no projects that merited this red and white marbled 1x8. Nevertheless, I left the store with it. (But not with the dining table slab I was looking for. Oh well, I guess I get to take another voyage to the glorious Crosscut Hardwoods in the Georgetown neighborhood of Seattle)

At some point it occurred to me that all the paddles I made are laminations of different species of woods. I have never used just a single board.

Step 1: Layout. I needed to find a way to get a paddle that is 8”wide and 60” long out of a board that was 5”x 96” x 1”

Layout: 1) Cut the board to the shaft length 2) Rip the shaft to wide 3) With the remainder, cut the blade to length 4) Resaw/Split in two the blade to create 2 pieces that are 20” x 3” x 0.5”

Layout: 1) Cut the board to the shaft length 2) Rip the shaft to wide 3) With the remainder, cut the blade to length 4) Resaw/Split in two the blade to create 2 pieces that are 20” x 3” x 0.5”

Step 2: Crosscut to shaft length of 60”. Not only did this allow me to save 36” of this immaculate board but handling a 5 foot board is a lot easier than an 8 foot one. Especially in my basement shop.

Step 3: Rip. I cut the 2” wide shaft out of the board on the Table Saw. (notice how my workbench acts as a perfect outfeed table)

Ripped to create two pieces: one for the shaft (Right) and a thicker piece that will be split into two for the blade (Left)

Ripped to create two pieces: one for the shaft (Right) and a thicker piece that will be split into two for the blade (Left)

Step 4: Crosscut blade to size. Of the 3” x 60” that remained I only needed 20” for the blade. A quick task for the Miter Saw to chop that off.

Crosscut to the length of the blade.

Crosscut to the length of the blade.

Step 5: Resaw to book-match and thin blade. “Resaw” is the process of cutting a board along its thinnest dimension - like opening up a hotdog bun. I needed the blade to be wider than the 3” I had. Also, I didn’t need it to be 1” thick. So I took it to the Band Saw and split in half. Then I opened it up like a book so that the grain pattern is “book-matched”.

Ultimately I was left with 2 pieces that were 3” x 20” x 0.5” and one that 2” x 60” x 1”. When that was all laid out the blade is 8” (3+2+3) wide and 20” long. And the shaft is 2” wide by 60” long.

In the next post I’ll cover gluing and cutting the basic paddle shape.

One board cut into 3 pieces and layout out.

One board cut into 3 pieces and layout out.

Let me tell you about my boat

I made a 15’ wood strip canoe out of Redwood. It is my masterpiece and one of the most fulfilling experiences of my life. And it continues to be every time I go for a paddle.

I will go through the build process in other posts. For now I would like to tell you how it came to be.

In the fall of 2014 I was working 60+ hours a week and, according to the health app on my iPhone, I was walking at least a half marathon everyday. You see, the factory I was working at is 50% larger than Disneyland - it is ginormous and I was routinely pacing between my production line to the machine shop back to the line to the loading dock to the lab to the conferences rooms, on and on. Needlessly to say when the weekend came I wanted nothing more than to melt into the couch. And so I did just that.

From the time Lee Corso put on a mascot’s head on College Gameday to hearing Joe Buck sign off on Sunday Night Football I moved only to crack a cold one or make nachos. I watched every minute of football that was broadcast. This was a glorious chapter in my life.

IMG_1280.jpeg

Monday would come, as it always does, and it was back to the grind. I had nothing to show for my brief reprieve from building robots. Resting in front of the tv did a poor job of resetting a stressful work week. It all blended together. Making stuff is a leisurely activity for me.

The house we were renting in Half Moon Bay had a 2 car garage and, it being California, we didn’t park cars in it. It was used for storage and laundry and to house the kegerator. Furthermore, I have a 100” projector screen. Why not mess around in the garage with the games on?! This is so obvious in retrospect but felt like a profound eureka moment at the time. The kind of realizations that only occur after months of therapy.

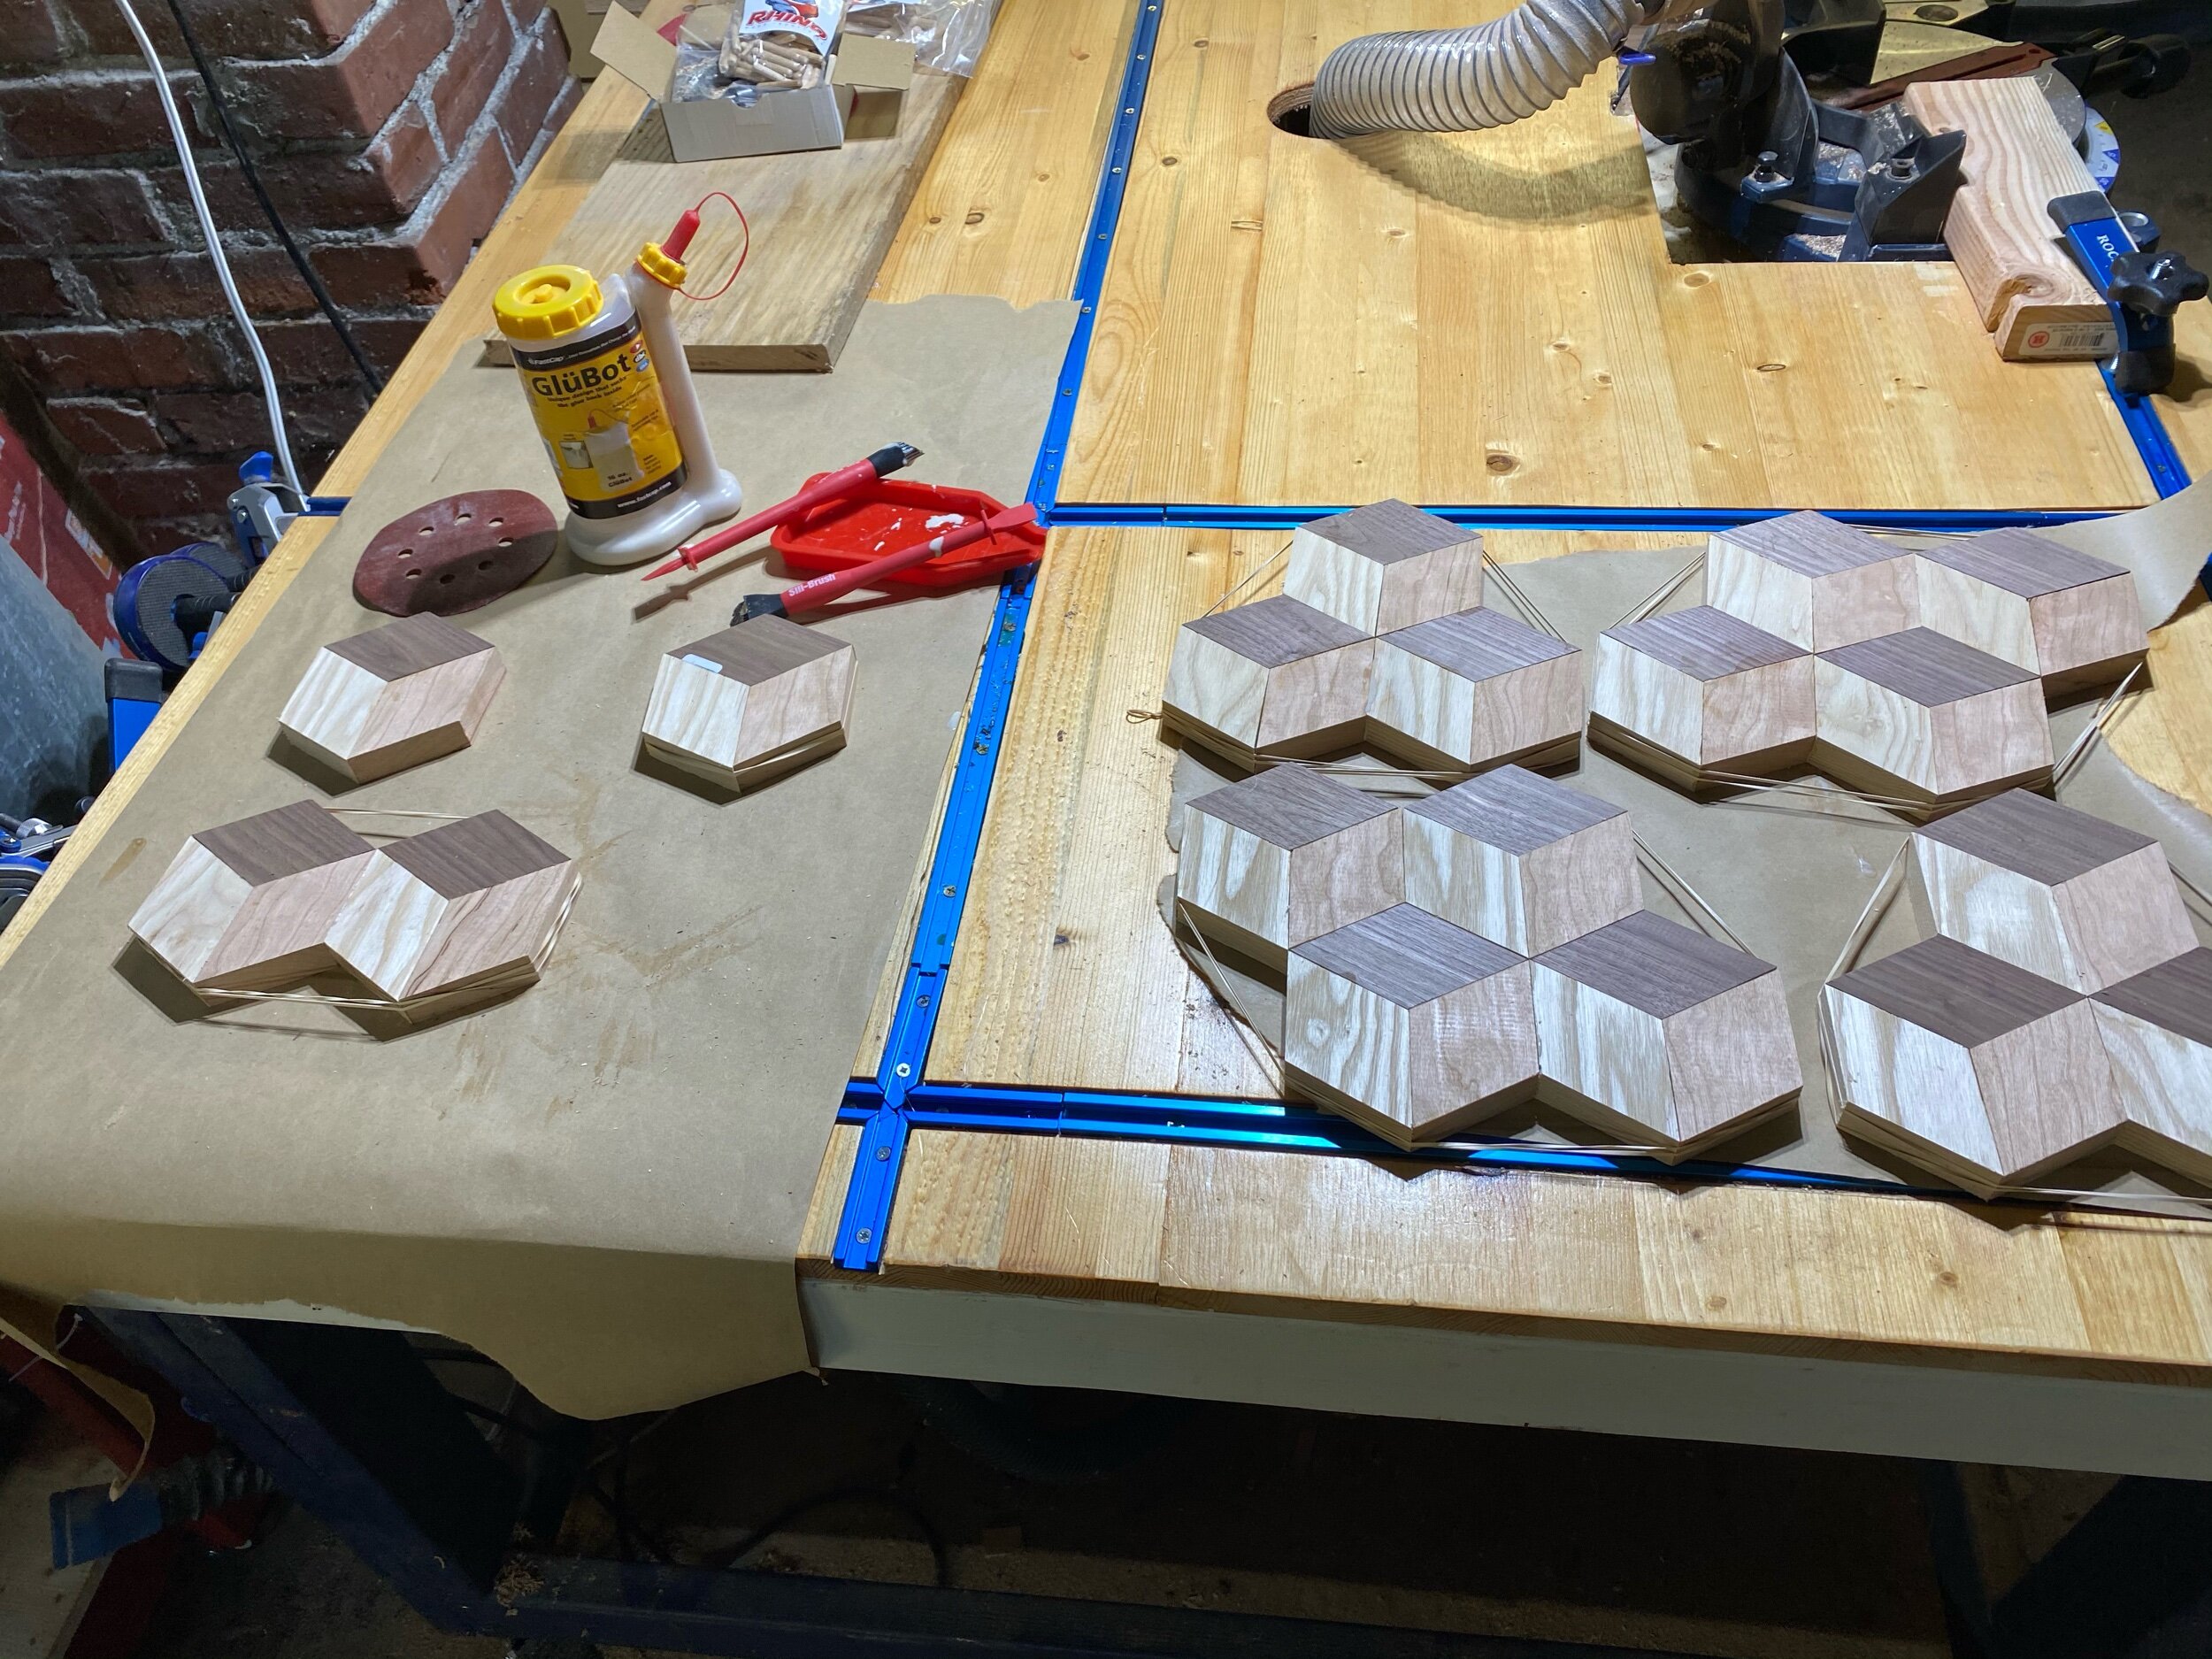
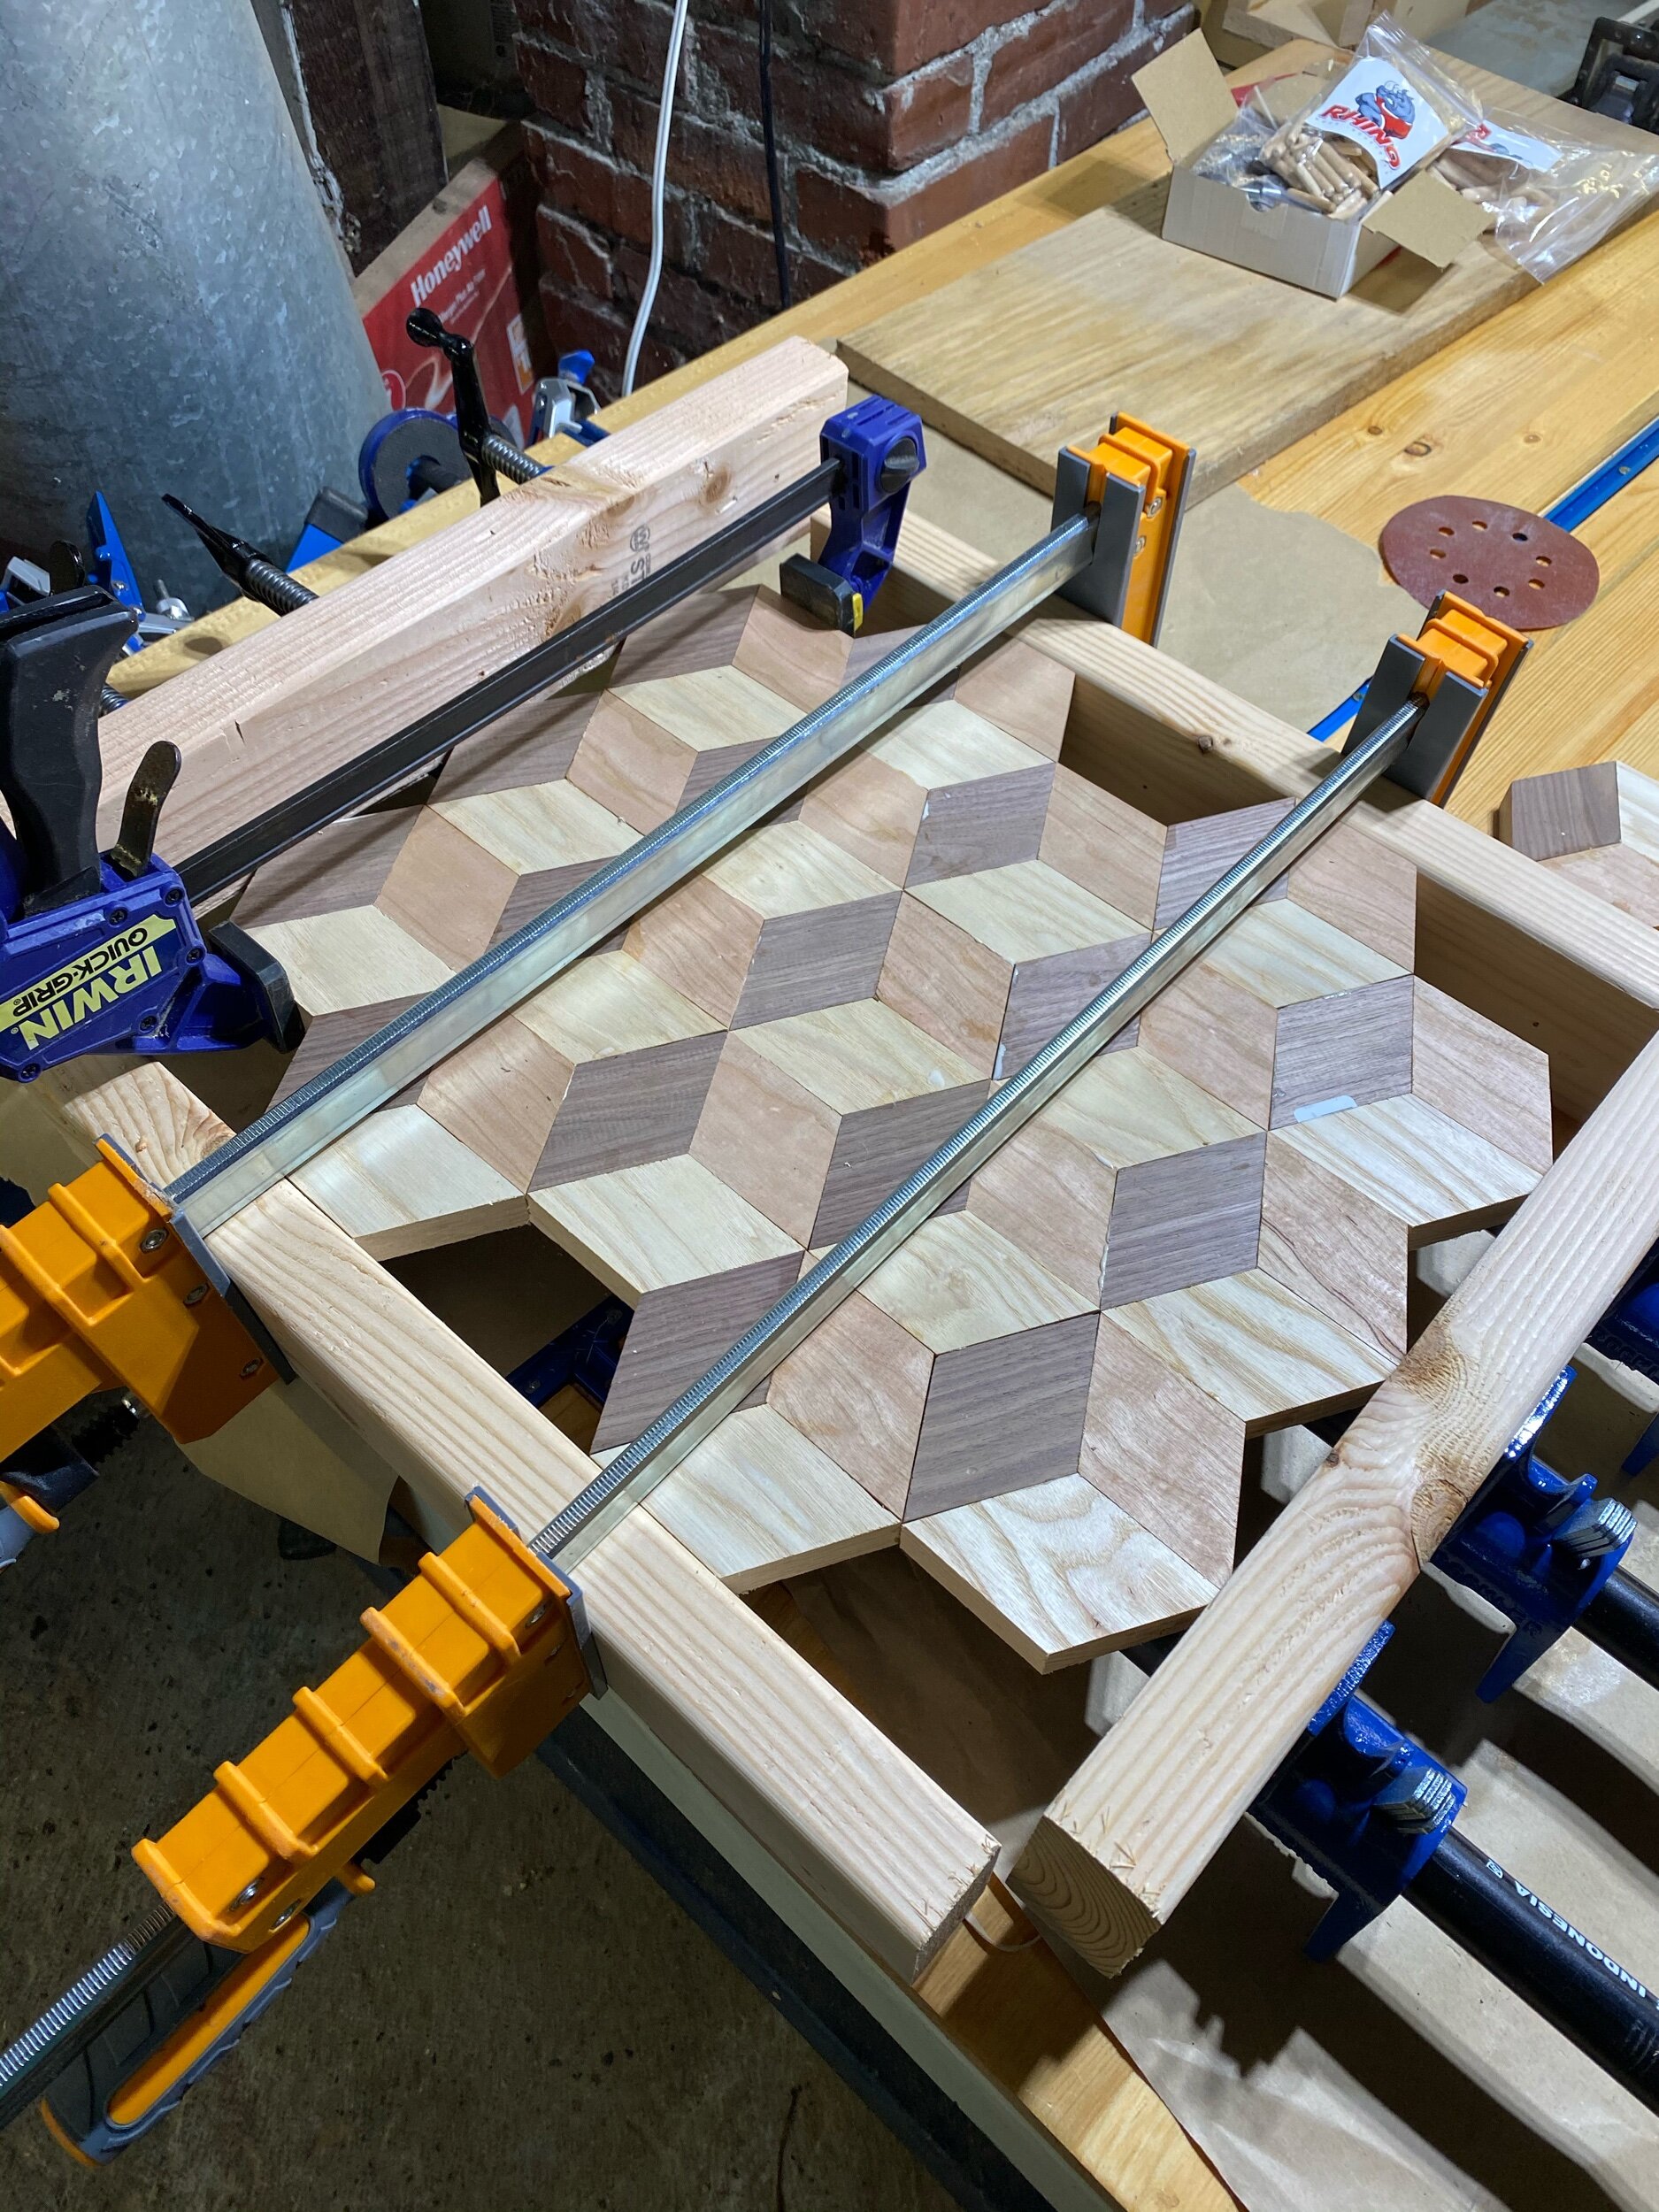
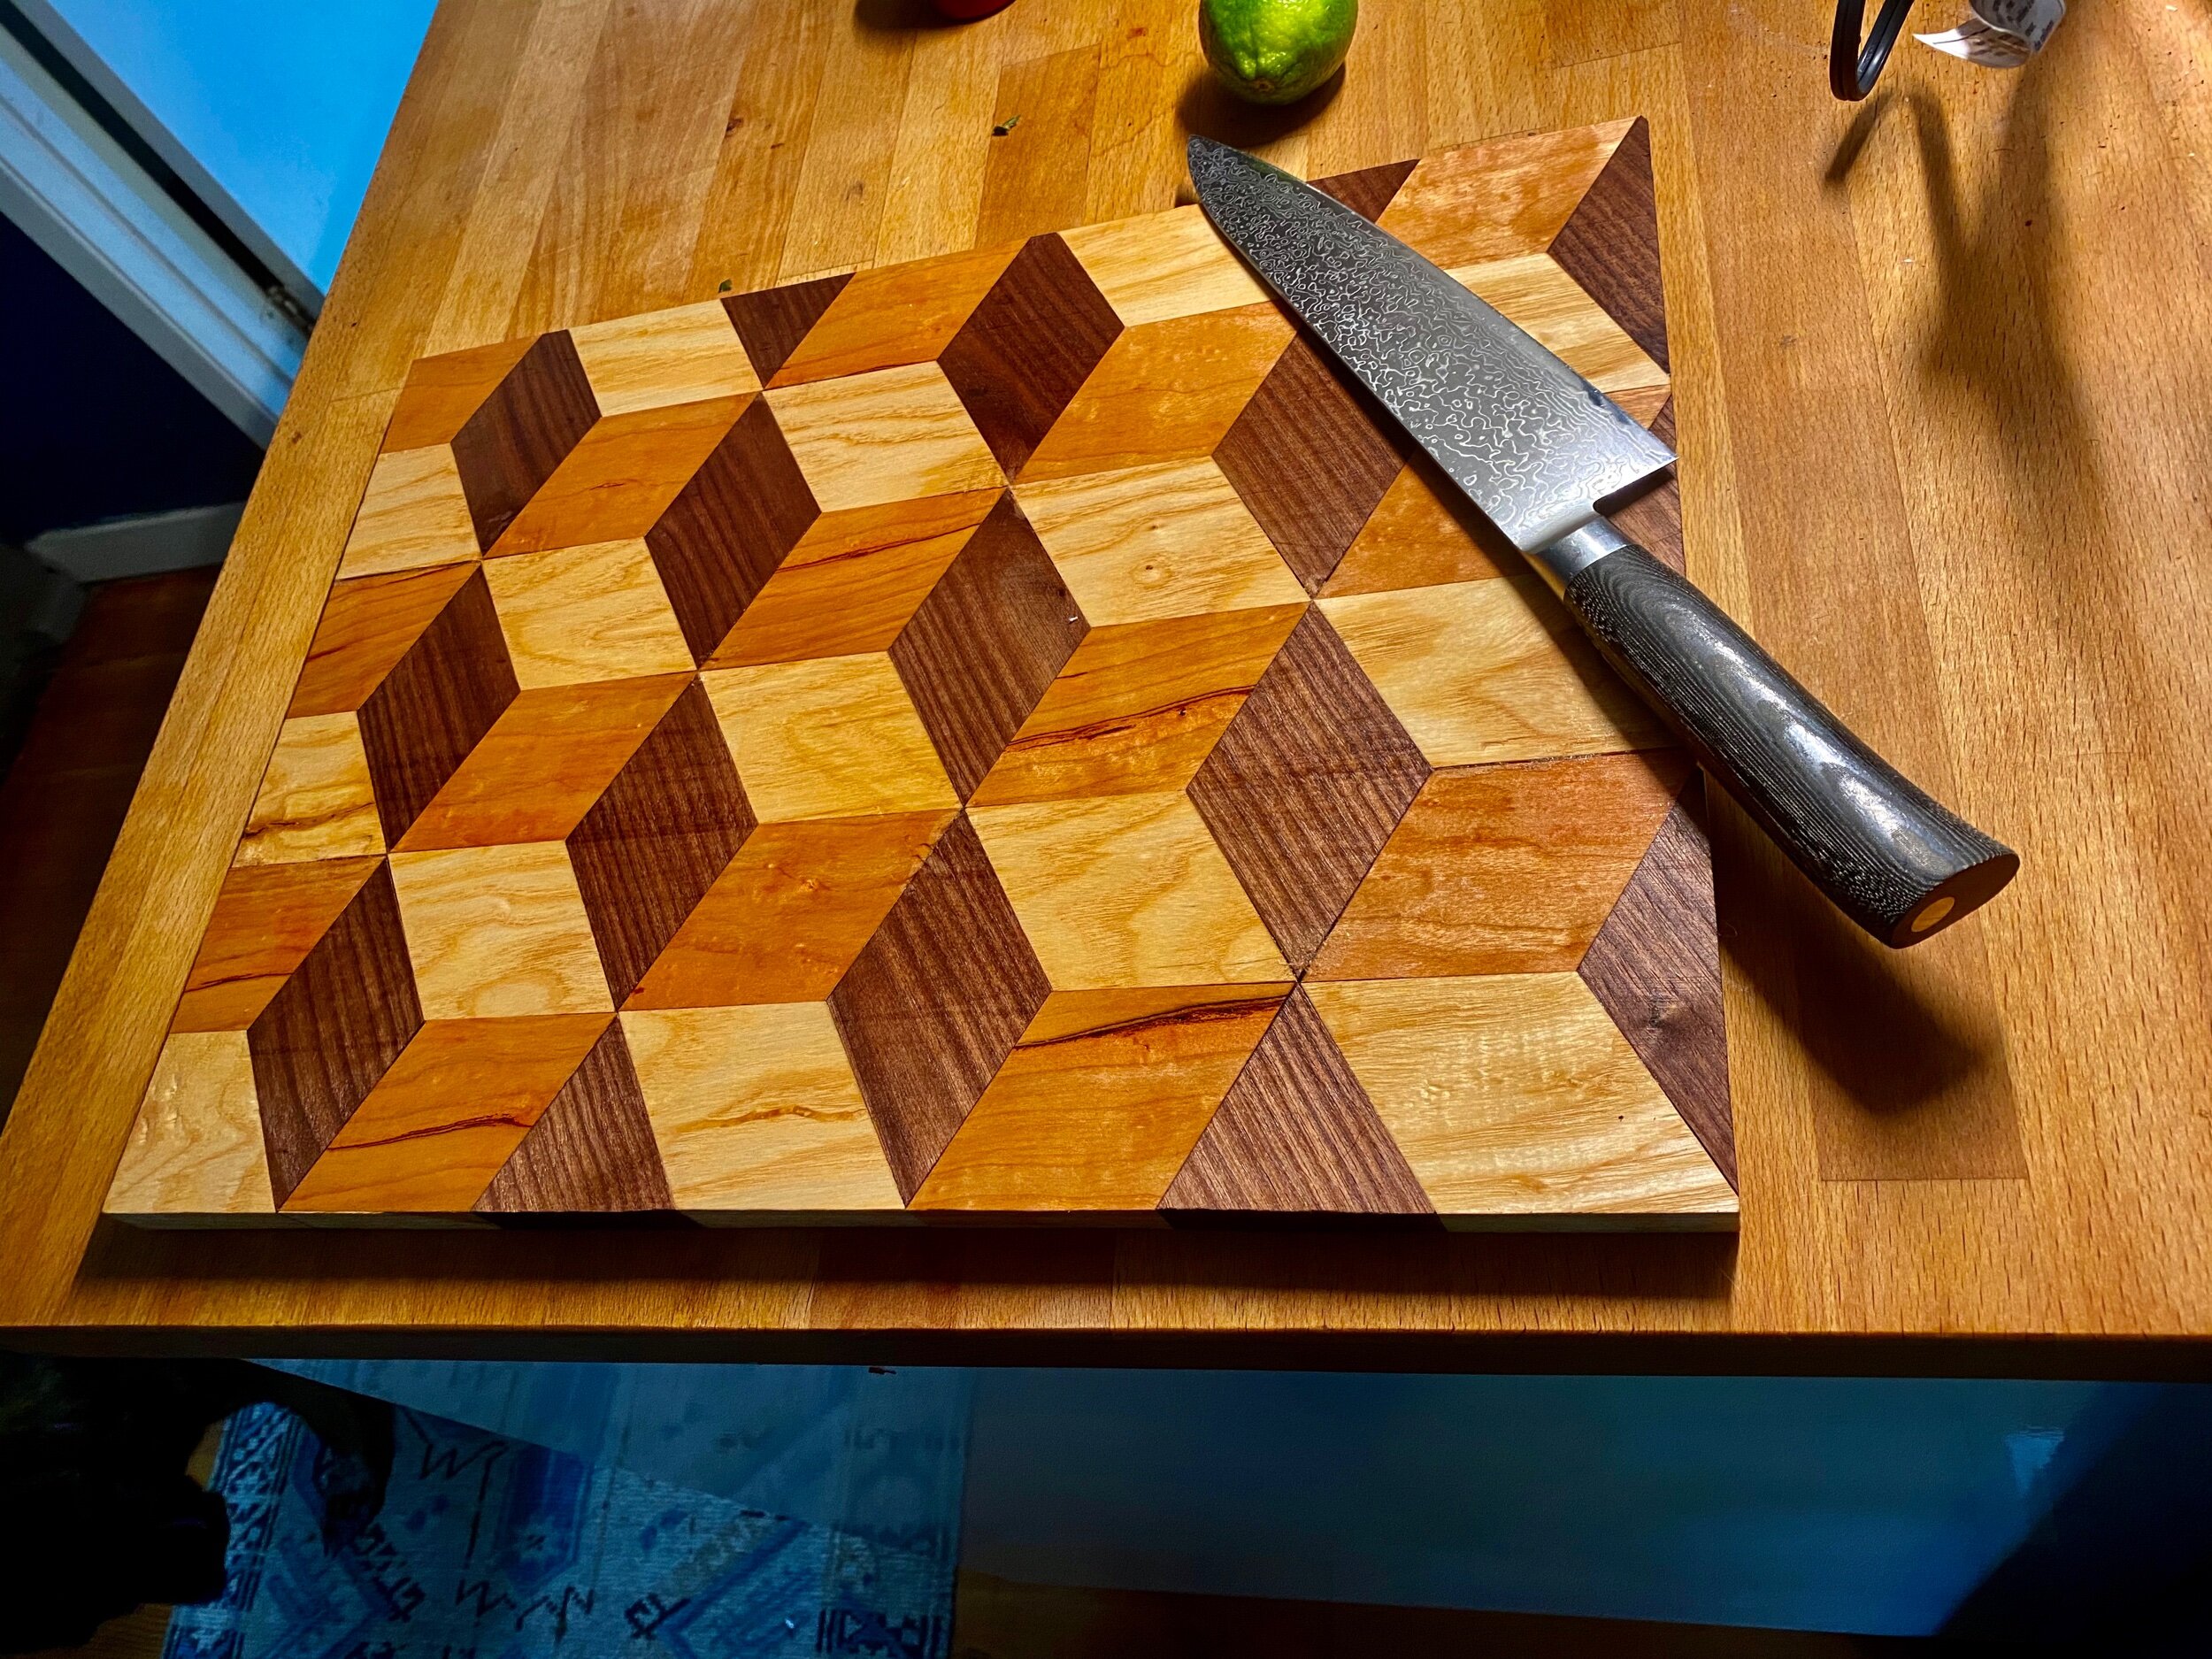
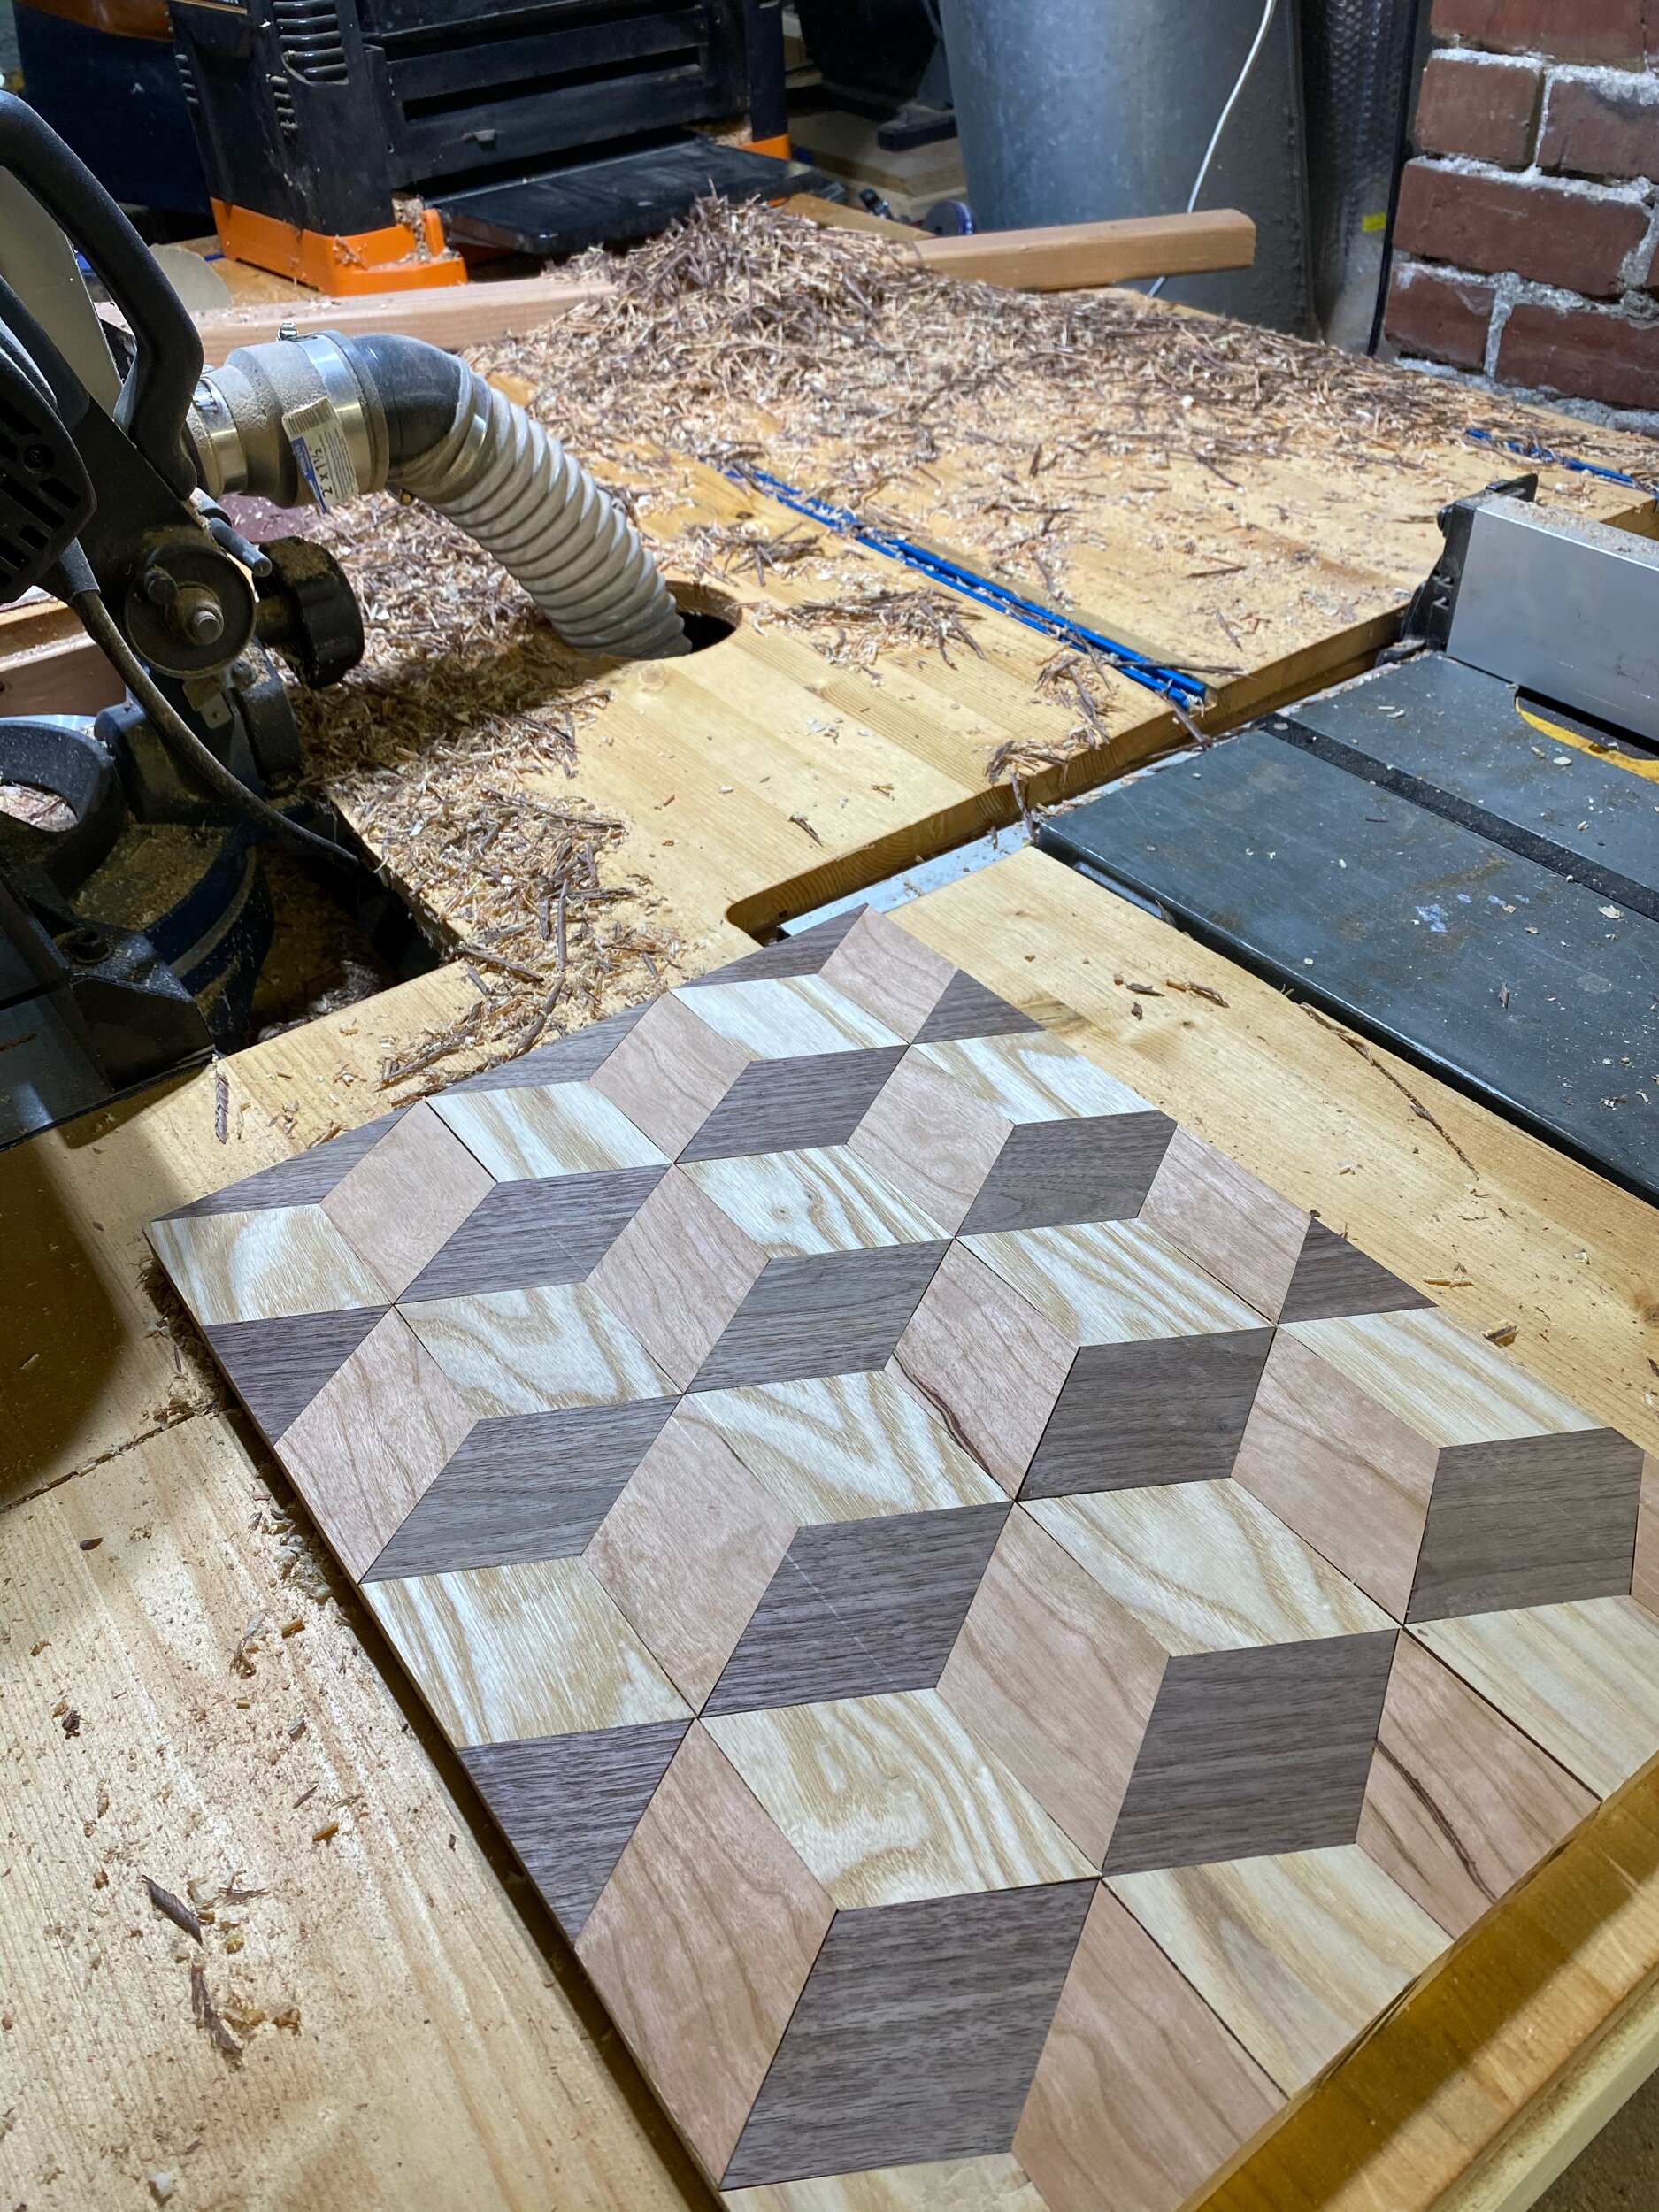
Ok. Step one, pick a project and get tools. I had a cordless drill and a hammer. I am handy but my woodworking experience begins and ends with making a Pinewood Derby car in Cub Scouts. Needed to start simple. A chess board! 64 squares, some glue, a few clamps. *aside: it is actually more straight forward than that. Take 4 strips of a light color and 4 of a dark, glue together alternating between the two. Then take that block and cross cut it 7 times to yield 8 strips. Flip over every over one, glue those together and bingo, chess board. All I needed was a Table Saw.

I called my dad to ask if he had advice on buying a table saw. Before he could dispense anything he asked a fair question,

“What are you thinking of making?”

“A chess board”

“Ooooooh. Pretty ambitious first project.”

The hell! It is just a serious of 90 degree cuts. The exact thing a Table Saw is designed for.

I have a great relationship with the ol’ man. But he is a father and I am a son and I couldn’t help but hold contempt for his lack of encouragement. If he thinks a chess board is an ambitious project, well, I’ll show him …

Around the same time I got into the TV Show Parks and Recreation. A character on the show, Ron Swanson played by Nick Offerman, concludes the show by hoping in his canoe and paddling away. That boat was flawless. An idea began to peculate.

Soon after I saw on Twitter that said the canoe in the show was built by the actor. And he had a YouTube series detailing the process. In them he demonstrates the steps outlined in the Bible of woodstrip canoe building - Canoecraft by Ted Moore.

I bought a copy. Read it cover to cover the afternoon it arrived. Read it three more times that week and decided - yup, I can do this. It was beyond my skill set, sure, because, well, I didn’t have a skill set. But the book is so beautifully put together that it breaks down this herculean task into small manageable tasks. What’s the says - How do you eat an elephant … one bite at a time.

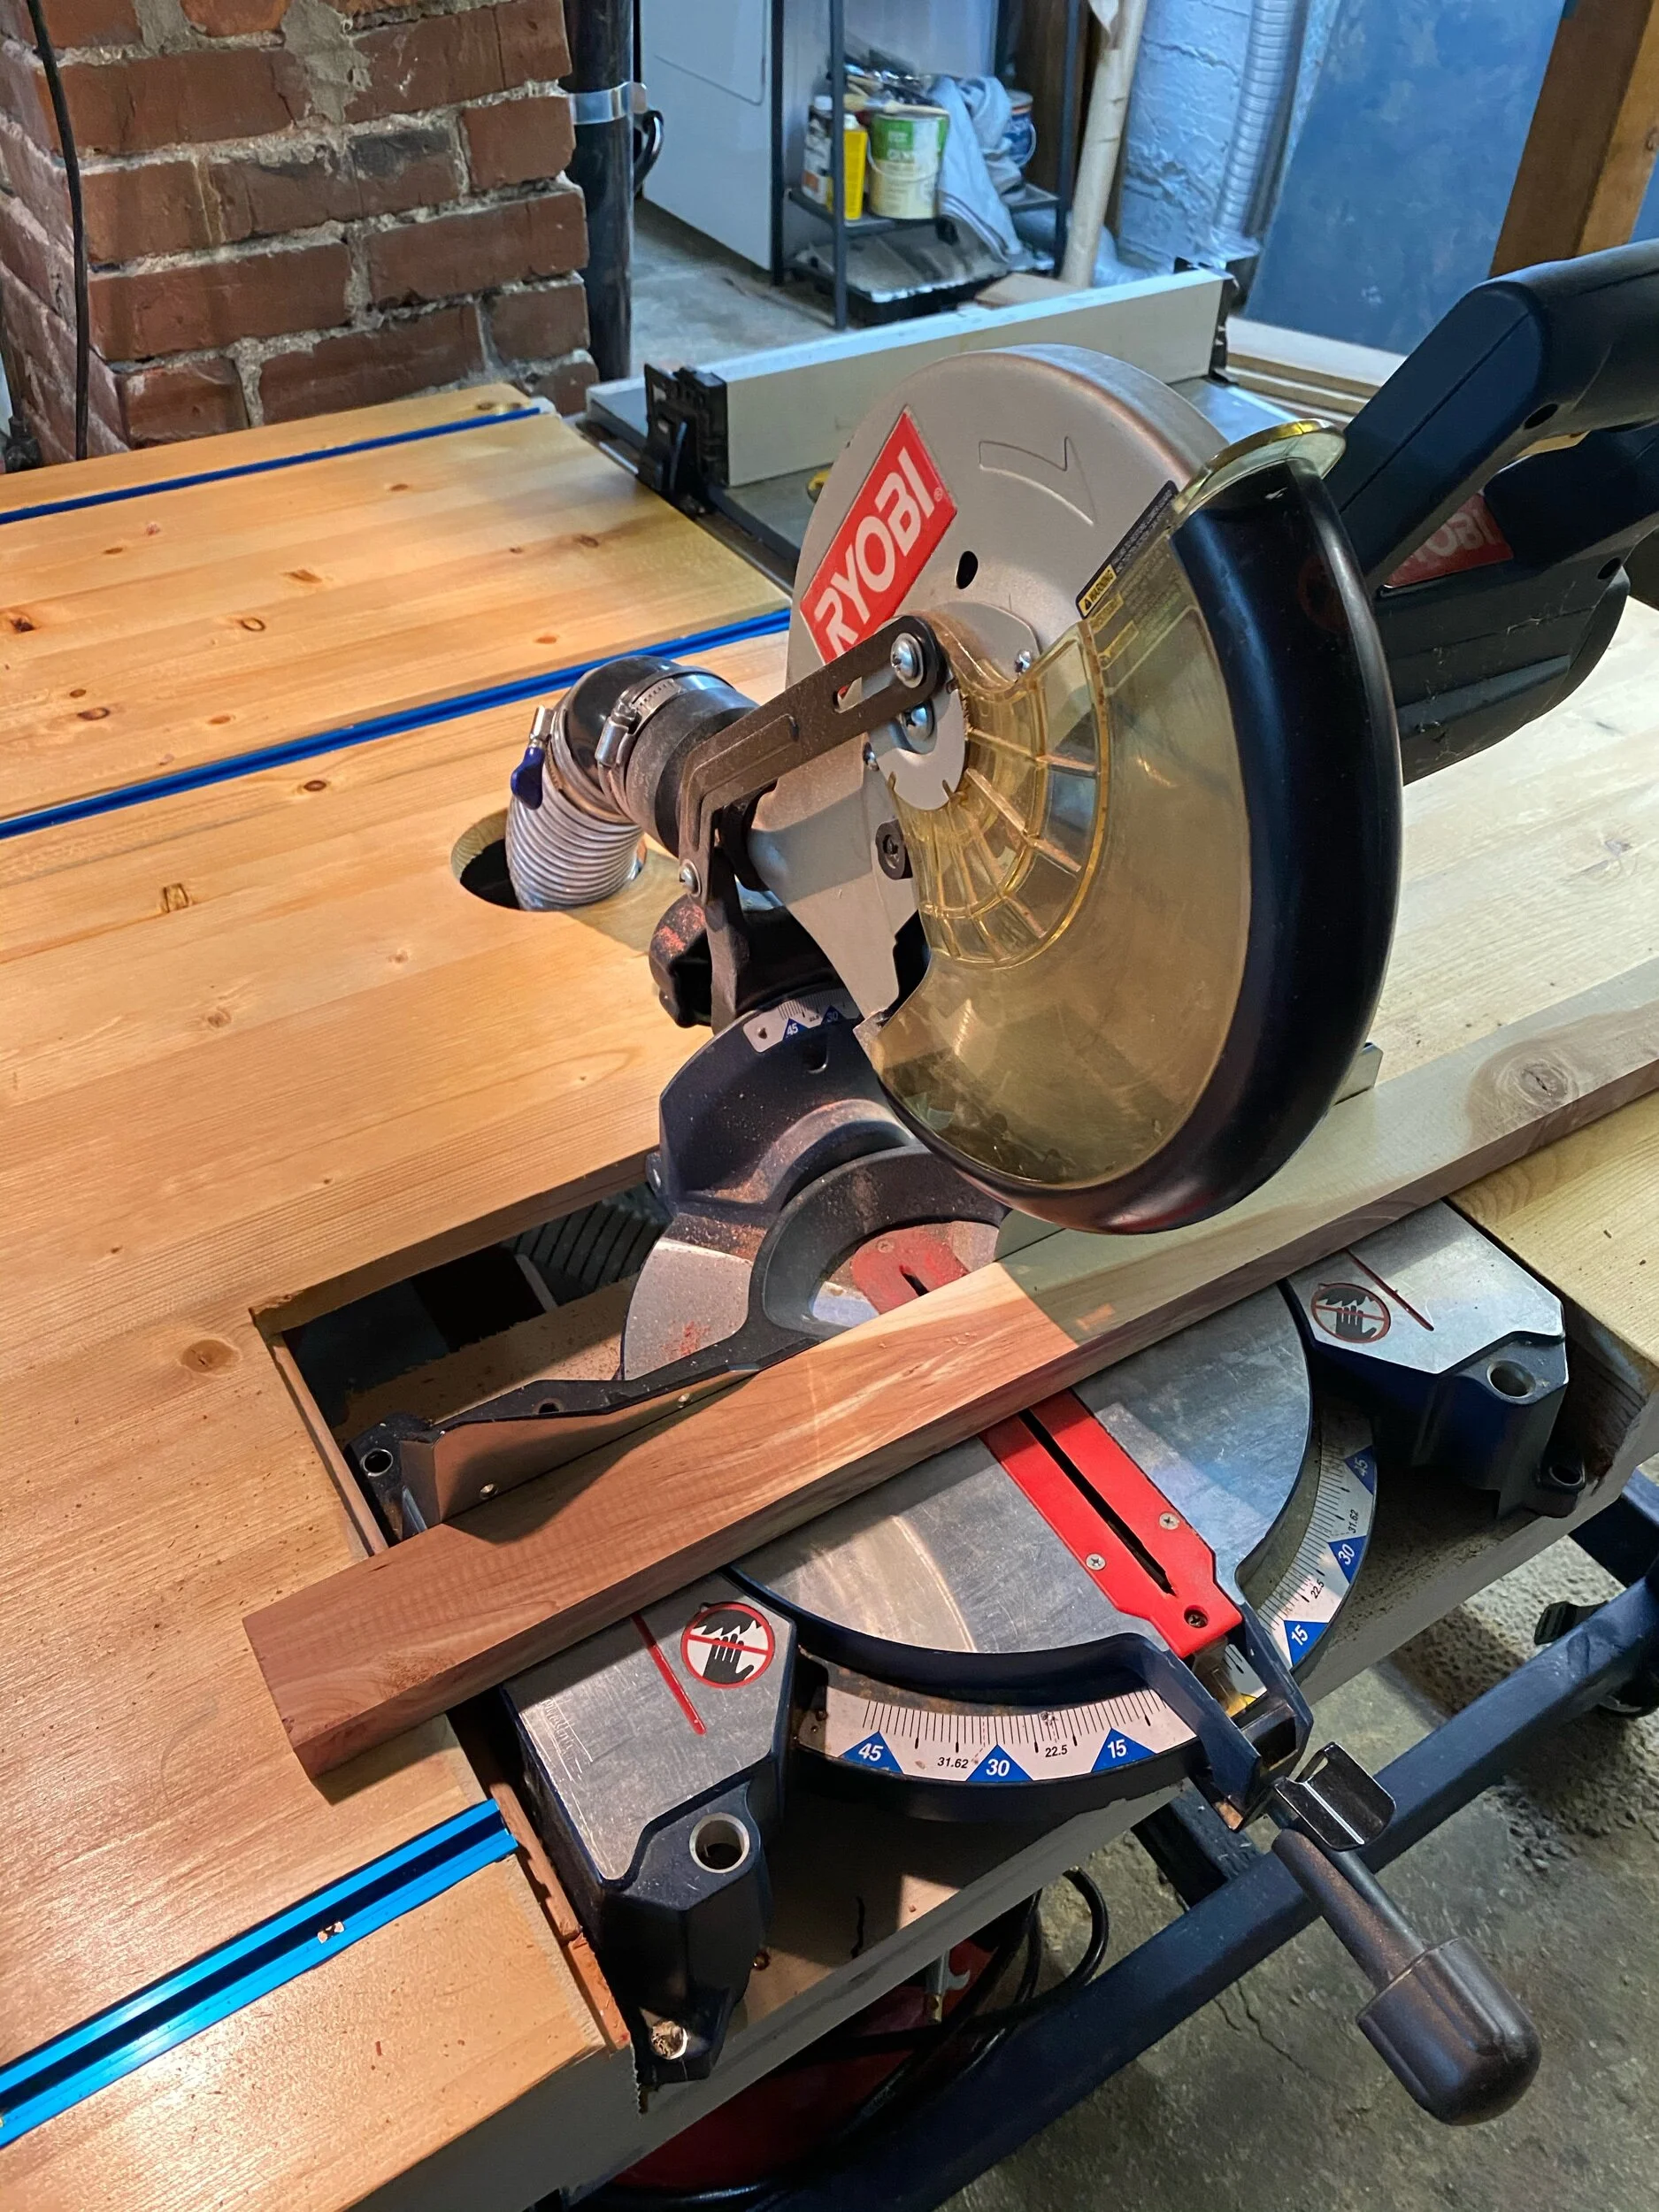
March 22, 2015 - Bought a table saw

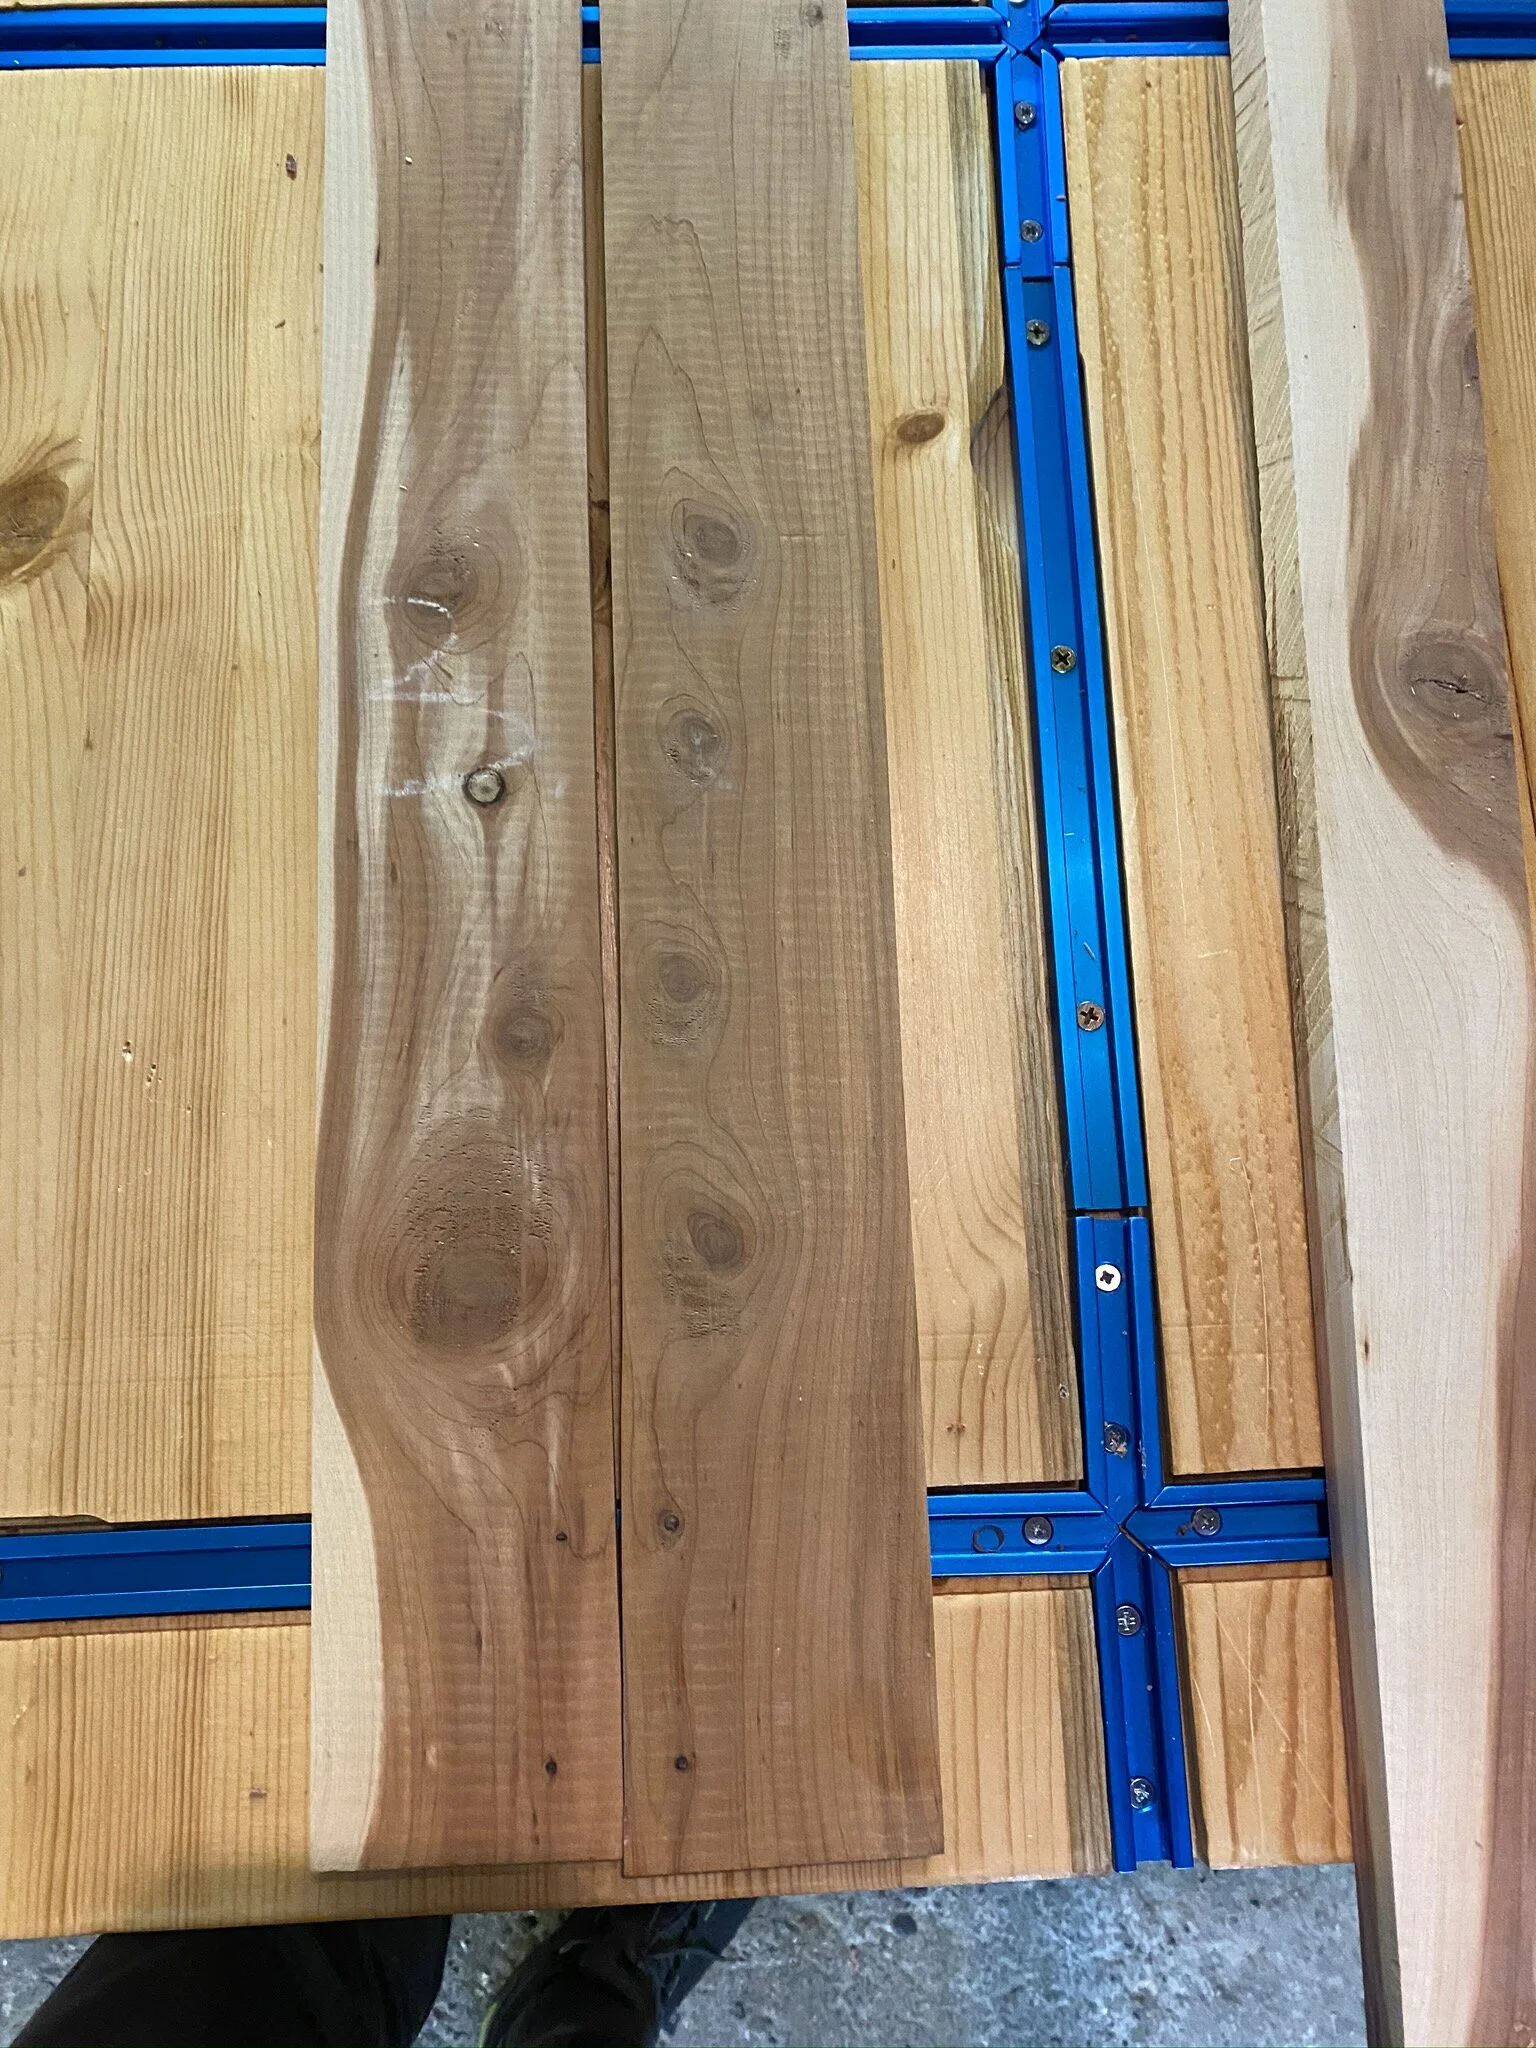
May 22, 2015 - Bought lumber for the support/assembly frame (i.e. the Strongback). THE BUILD HAD BEGUN

May 28, 2016 - Launched in Pillar Point Harbor

There are few greater joys in the world than accomplishing a long term goal.

Adjustments.jpeg