I work from home. My day job desk is in my Shop. Which makes for a wonderful place to be while in a conference call. Last week I thought it would be kind of slick to make a cutting board while attending meetings where I wasn’t an active participate. Just needed to mute when I was running the saws. I thought it would slicker if a flat cutting board appeared to be 3 dimensional.
Here are the steps:
1) Rip 2” wide 16.5” long each strips of Walnut, Cherry, and Ash.
2) Plane to even thickness, .75”. 3) Set miter saw to 30 degrees. Used a 2” wide piece of strap and made a cut 2” down. Then measured the length of that cut (~2.25). Set up a stop block at that distance. The saw is now set up to make a diamond with four sides of equal length.
4) Make 16 diamonds of each type of wood.
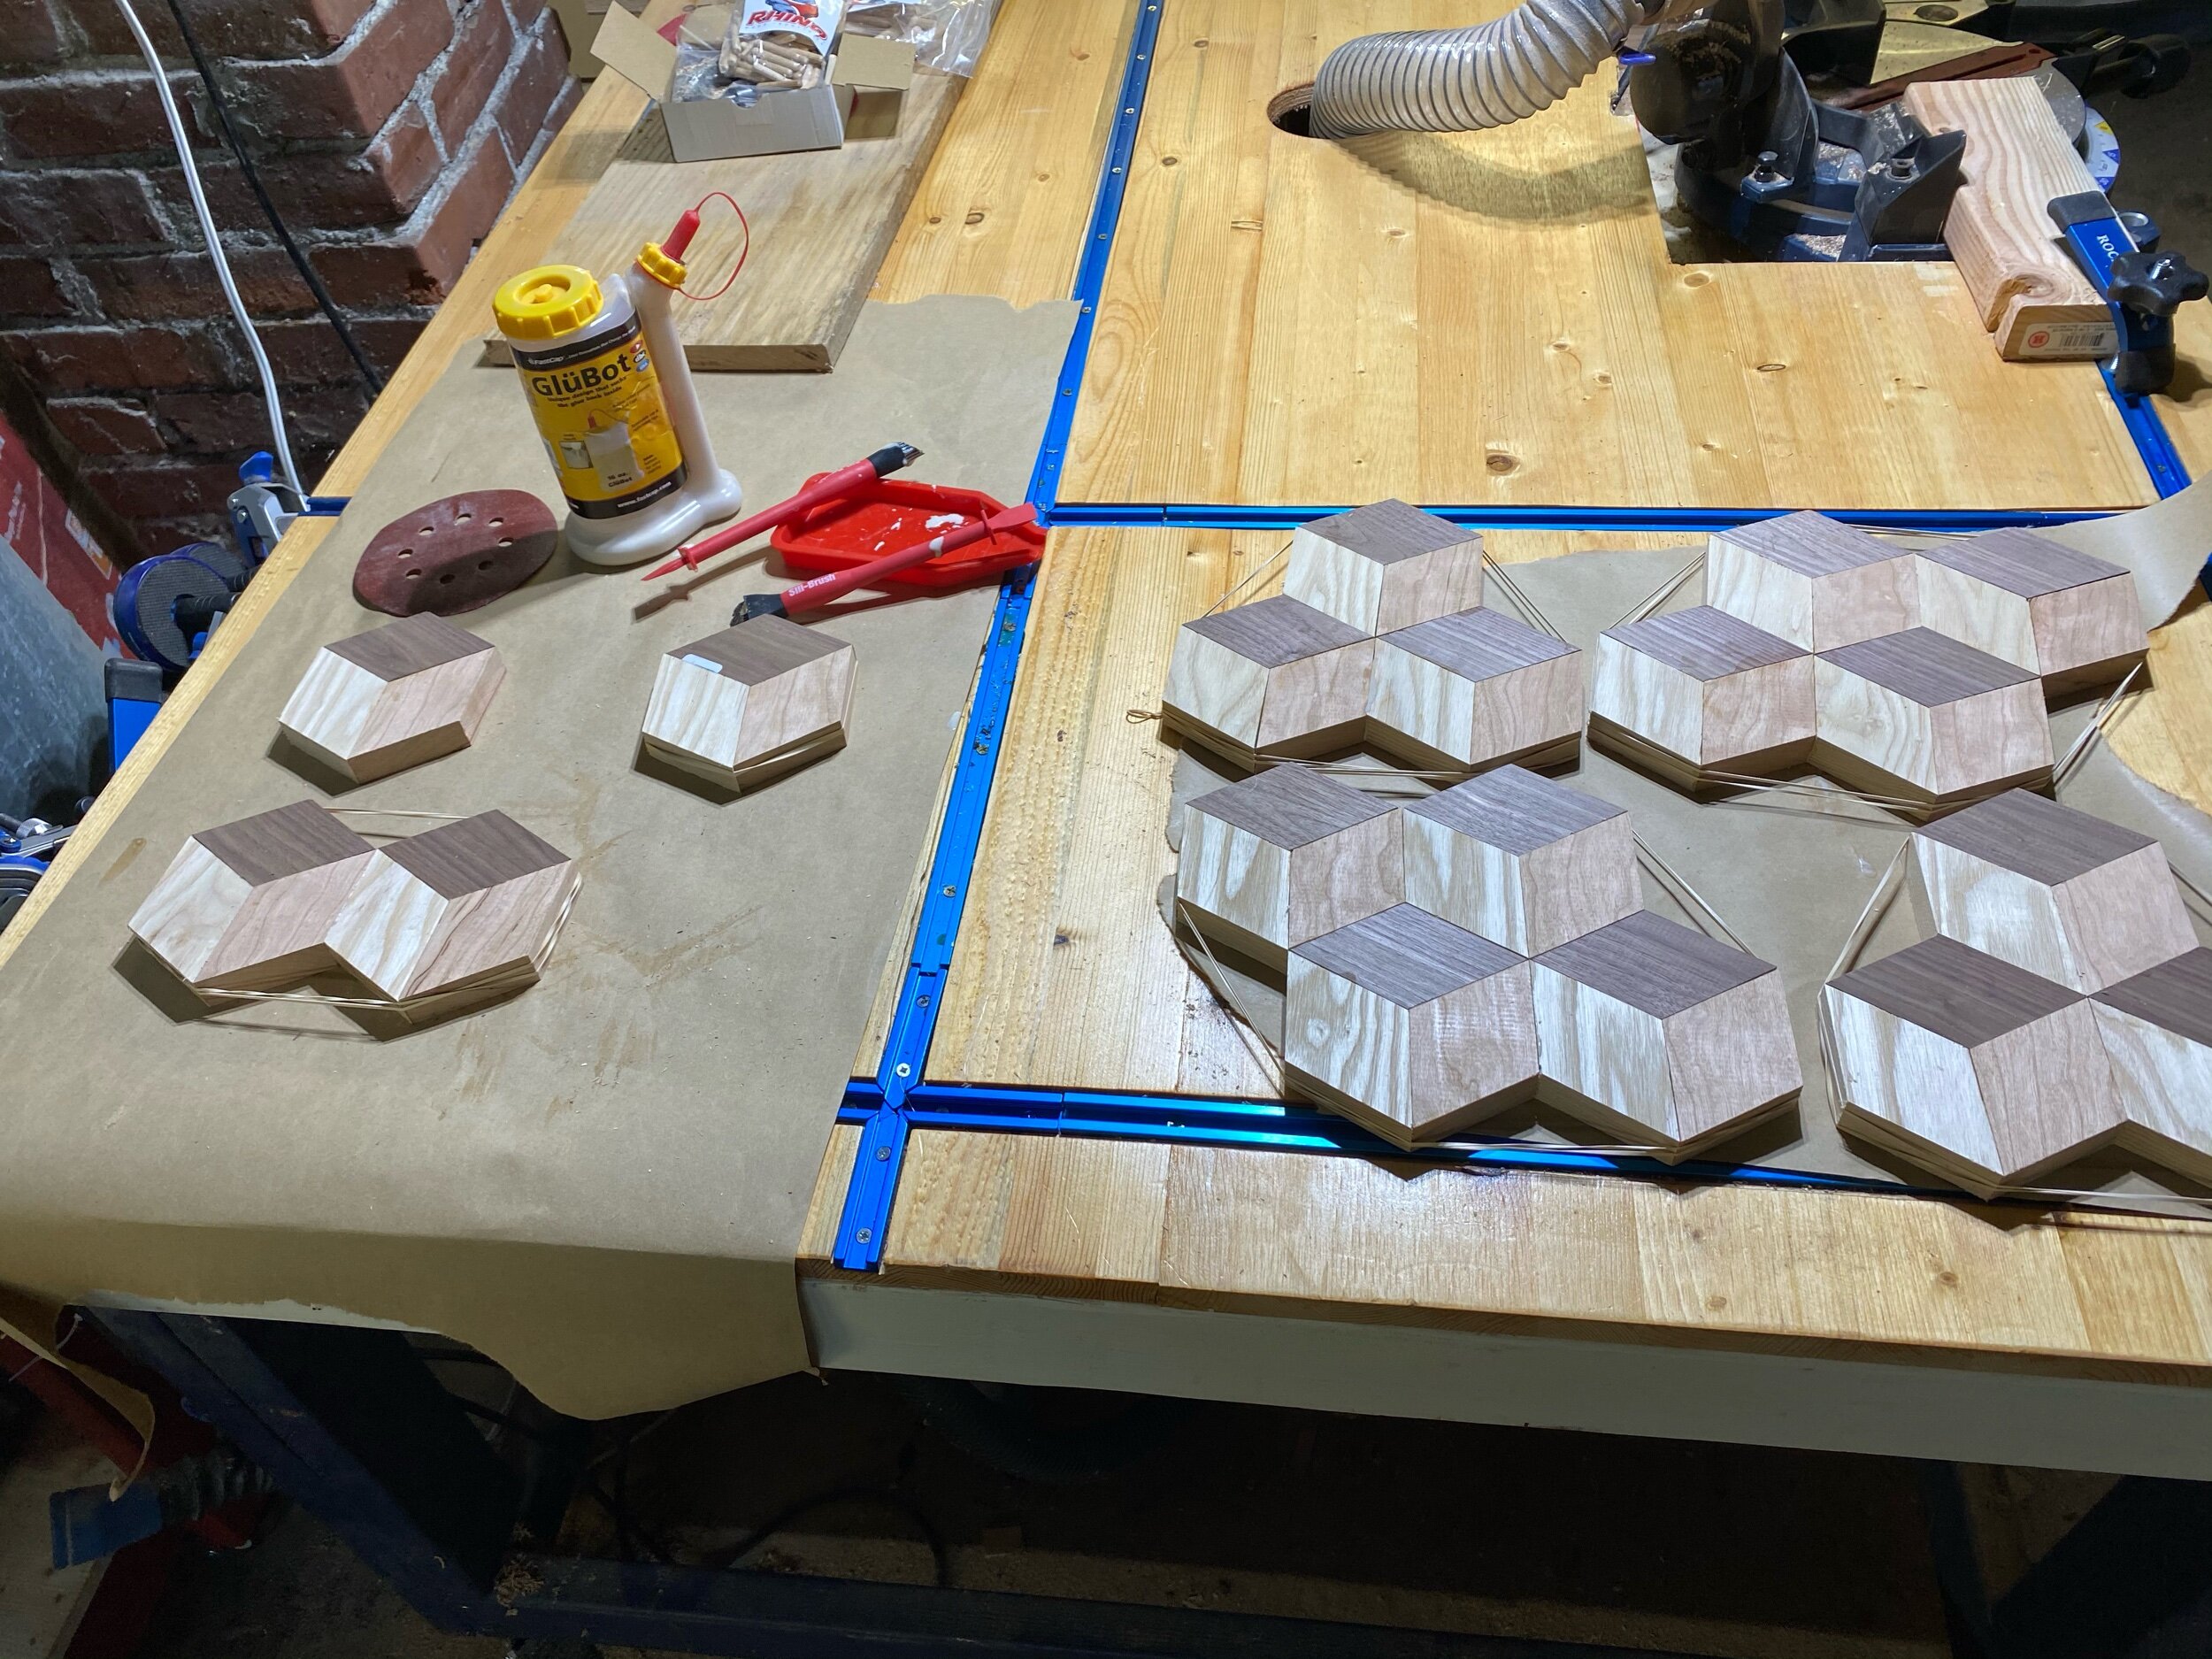
5) Glue hexagons with one each of type. Be mindful of the wood grain and make sure they are the same between all hexagons. Use rubber bands to clamp.
6) Glue the hexagons into clusters of 3 or 4. Be sure each hexagon is oriented the same. I made sure the dark Walnut was on top.
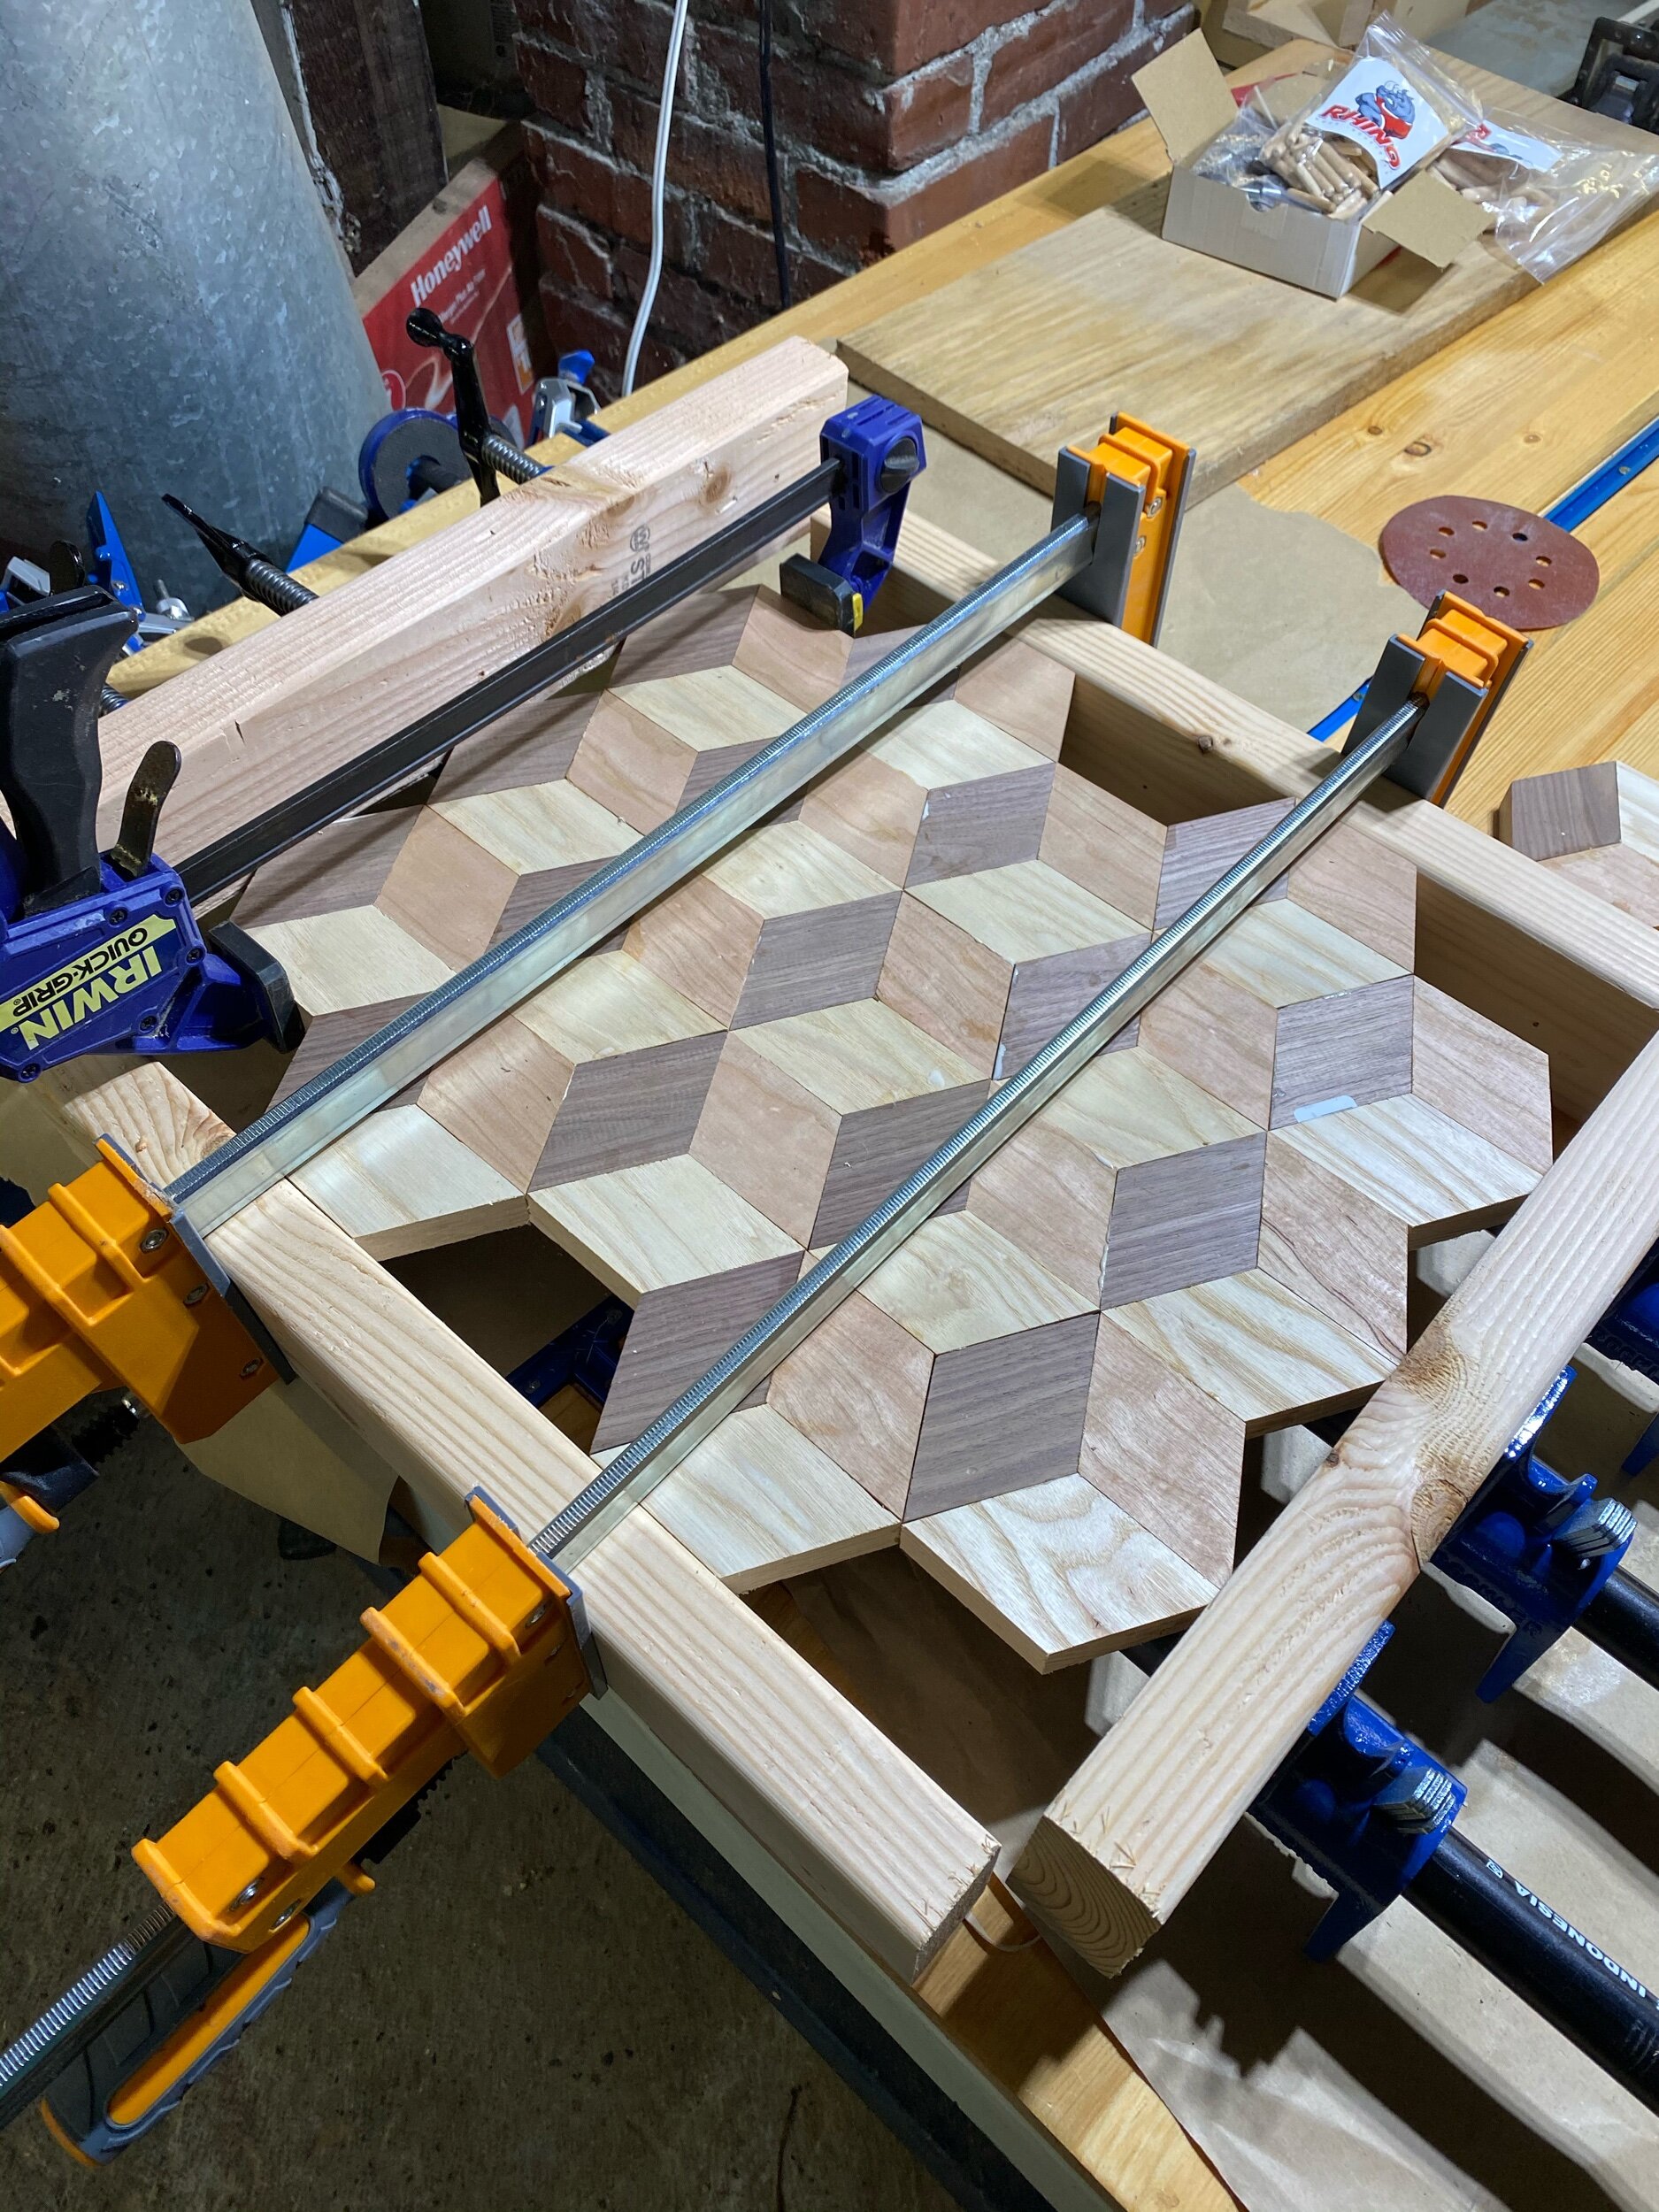
7) Glue all the clusters together.
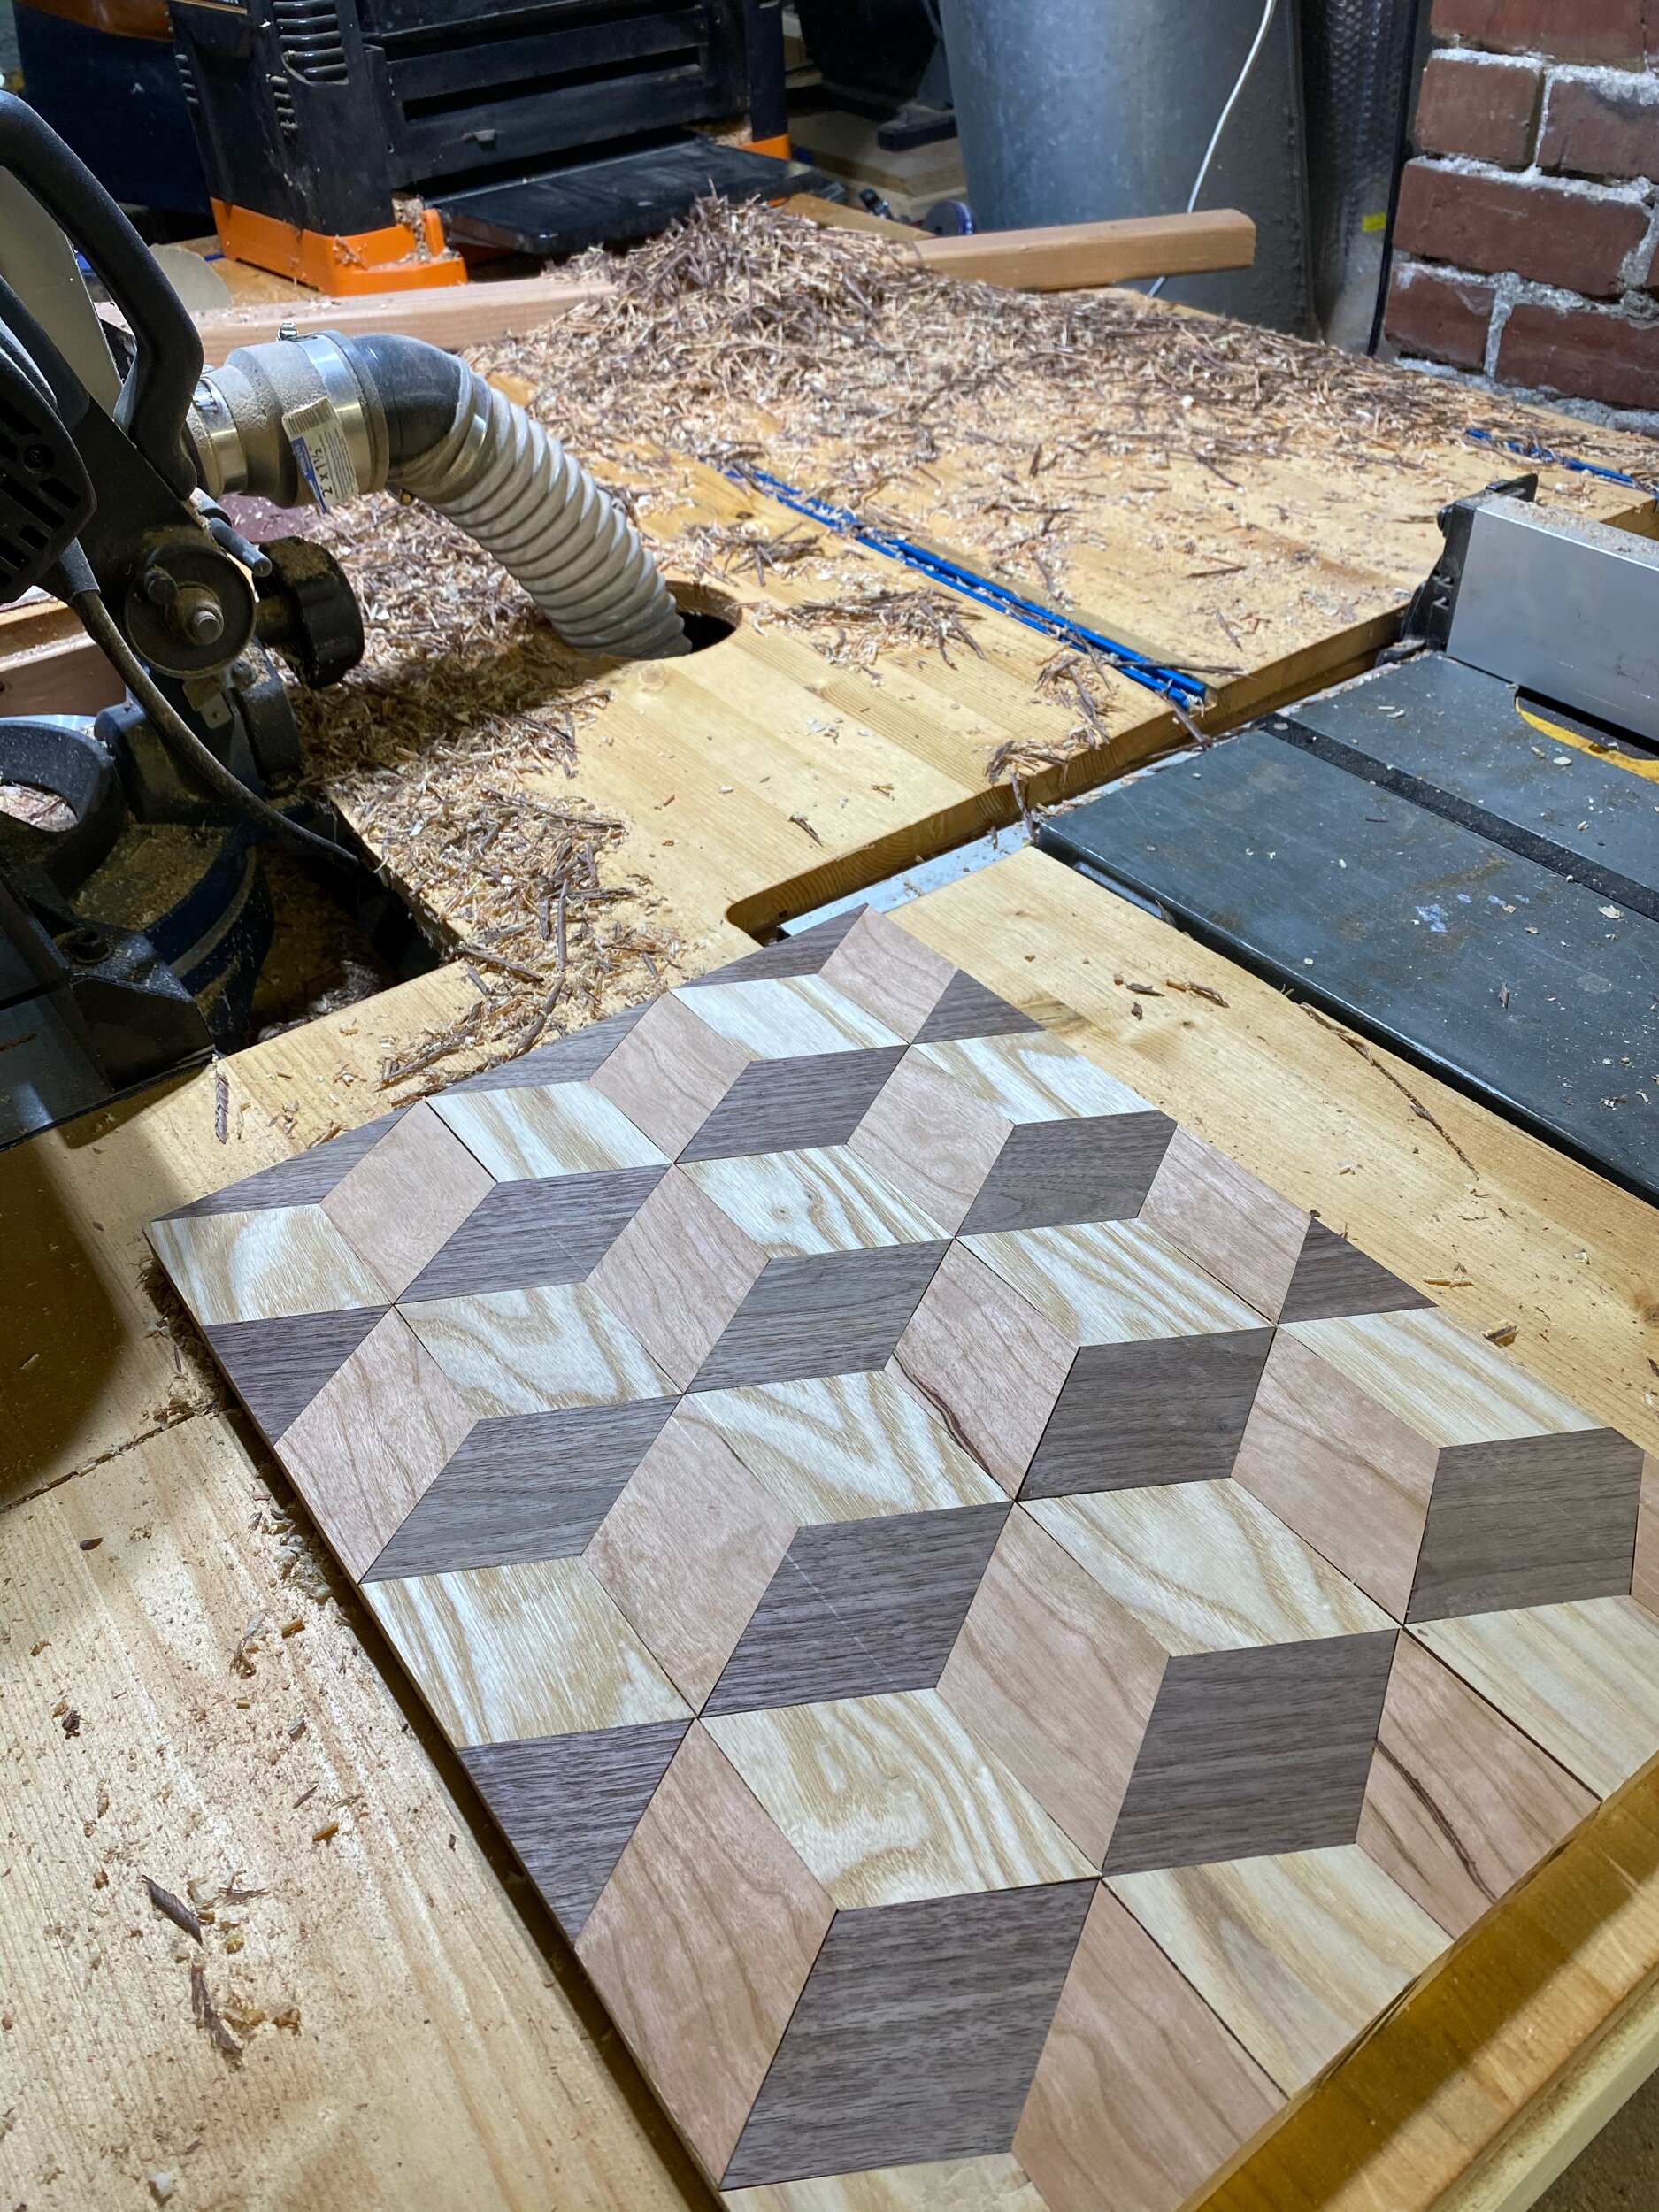
8) Cut off overhangs on the table saw to square up all sides. 9) Fill the gaps with glue and saw dust. 10) Run the board through the thickness planer to level off the seams.
11) Hand sand with 120 grit. 12) Three coats of mineral oil and beeswax.
I am quite pleased with the result and Sara liked it so much she forbade me from giving it away, the ultimate compliment.


